
Episode 1 – The Birth of a Vegetarian Food Blog
Hello and welcome to the first episode of Cookilicious Kitchen Stories. In today’s episode, I’d like to give you a brief introduction about myself and how my blog came to be. After that, I’d like to talk about a recipe for a delicious South Indian dessert. So, let’s get right to it!
My name is Priya. I am a former HR professional turned home chef and I run a food blog called Cookilicious. I am a huge fan of Disney, horror movies, and an adrenalin junkie! I have a Bachelor’s degree in Home Science from India - where I studied food and nutrition for five years as part of my curriculum.
I was born and raised in Bombay, India. Bombay (now called Mumbai) – is a vibrant and bustling city that is a hodge-podge of culture. More importantly, it is also called the ‘Food Capital of India’. From street food to fine dining, this city is home to a myriad of cuisines. It’s hard not to be a foodie growing up here, especially when there is so much variety available with such ease!
I have always enjoyed cooking since I was a child. One of my favorite memories is of me hosting my very own cooking show for my brother when I was just ten! When my Grandmother, aunt, or parents used to cook, I would observe them and try to help. I gleaned so much information by doing just this! They say cooking is a science, but watch the elders cook and you will see – it’s more of an art! Not one of them ever measured out ingredients when they cooked – yet they knew just the right amount of spices and salt to use and their dishes always turned out perfect. It used to boggle my then young mind! I’ve always strived to achieve that same level of expertise. Though I’m getting there, I’m not quite there yet!
My family hails from the South of India, but growing up, my neighbors and best friends all hailed from different parts of the country. So right from my childhood, I was exposed to diverse cuisine from all over India. When I went to school, we friends used to share our lunches. I got to sample all these wonderful dishes from other cuisines. All these experiences further helped shape my interest in the culinary arts.
Small wonder then, that I decided to study Foods and Nutrition as part of my curriculum for 5 years while pursuing a Bachelor's degree in Home Science. That is where I learned and understood the science behind cooking.
In 2013, I married and moved to the United States. Since I could not work as per immigration laws, I decided to turn my attention to what was still my passion – cooking. I decided on a whim, to create a food blog. This was to be my space to share recipes and food photos with my family and close ones. After a couple of years of doing this, I realized that I had not grown tired or bored of doing this at all. In fact, I was more excited than ever that I was getting to work with food every day!
In late 2015, my husband and I attended a blogging conference in Orlando. It was then that I realized that I could actually make money doing what I loved the most. So, in 2016, I decided to become a full-time food-blogger. I purchased a website and started thinking of names for my blog. I ran a blog naming contest within my family. I asked my family members to come up with a name for the blog and promised a gift to the person who came up with the best one. Everyone in the family put on their creative hats and began sending me name suggestions. I had so much fun going through all the names.
Finally, my brother came up with a name. He told me later that he would think of names while traveling to work. On one such trip, he came up with the name Cookilicious. Since the food I cook is always delicious (according to him!), he just put the two words together. I fell in love with this name instantly, and that’s how Cookilicious was born!
At the time, I had no idea of the work involved in running a food blog. I knew next to nothing about blogging or photography or how to put together a recipe for readers. The initial going was tough, but I stuck with it. Slowly, I developed my photography and writing skills. I learned to write for the reader and not myself. I learned to put together coherent recipes and anticipate questions that readers would have and answer them. I learned how to use photo-editing software like Adobe Lightroom to make my photos look good. I started putting together videos and learned how to edit them in video editing software. I learned how to approach brands and how to advertise on social media. All this I did by experimenting, reading articles online, and reaching out to the incredibly supportive online food blogging community.
My journey hasn’t been smooth or easy. I made so many mistakes early on, and I continue to make mistakes to this very day. But after every fall, I learned to pick myself up and take the next step. After five years, I’d say I have a decent food blog, but there is still so much scope for improvement. The important thing is that I haven’t lost my passion or zeal for food blogging. The desire to be better is what keeps me going every day.
My family has been vegetarian for generations now. No one in my family or my husband’s family eats meat. My husband and I do have eggs for breakfast occasionally, but that’s about as far as we go. Therefore, every recipe on my blog is vegetarian and/or vegan.
I am obsessed with my blog. I eat, sleep, breathe Cookilicious. I daydream of new recipes, do mystery box challenges by myself and enjoy showing off my creations to my husband when he gets home from work. My cooking sessions are usually to the sound of music. There’s nothing like a catchy number to get the creative juices flowing! Also, I find cooking to music therapeutic. It calms me and gives me peace of mind.
Okay, now that you know something of me and my blog, let’s talk a little about what Cookilicious Kitchen Stories is all about. The aim here is to take you, the listener, on a culinary journey where you can become familiar with Indian food. Over the course of this series, I will be talking in detail about various aspects of Indian cuisine – from how to make spice mixes at home to how to prepare popular restaurant-style dishes using these spice mixes. Step-by-step, we’ll explore the diverse richness of Indian cuisine together. Since this show is all about getting your feet wet with Indian cooking, let’s start with a simple, yet delicious Indian dessert today.
Whenever one embarks on a new endeavor, Indian tradition dictates that a sweet dish be prepared and offered to God. It is considered auspicious. As we embark on our podcast journey, I thought it fitting that the first recipe I share be such a dessert.
This dessert recipe is called ‘Paal Payasam’. It’s a South Indian dessert. ‘Paal’ means milk in Tamil and Payasam means pudding. So the name loosely translates to ‘Milk Pudding’. This dish is also popularly referred to as ‘Kheer’ which means ‘made of milk’. We make this dish on most festive occasions. Paal Payasam typically has rice in it, but one can make Payasam with lentils, coconut, vermicelli, or even tapioca pearls. Some even add veggies like carrots or beets to it. When a traditional South Indian meal is served on any formal or auspicious occasion, some kind of Payasam is usually served at the beginning of the meal. This dish is also very popular at weddings where ‘Payasam eating contests’ are often held. This sweet dish is also offered as food to the Gods in temples.
My Paati or maternal grandmother used to make the most amazing Paal Payasam. Whenever we would visit her during the holidays, she would make this sweet treat for us. I often wish she was around today so I could make her taste my version of the dish. Traditionally, this dish is prepared on a stove-top. But since the Instant Pot is so popular these days, I’m going to share how to prepare this in the Instant Pot. I am a huge fan of the stove-top version, but I feel the Instant Pot version is so much quicker plus the milk boils well in it giving the Payasam a thicker and creamier texture without having to add any condensed milk.
This dish has a prep time of about 10 minutes and a cook time of about 25 minutes. The ingredient proportions as listed should make about 6 servings. Here are the ingredients you’ll need for this recipe:
- 7-8 coarsely chopped almonds
- 7-8 coarsely chopped cashews
- 7-8 coarsely chopped pistachios
- 6-7 raisins
- ½ cup rice
- 2 tablespoon ghee
- ½ teaspoon Cardamom powder
- ⅓ cup sugar
- 2 cups of milk
- 2 cups of plain coffee creamer or cream
- 1 teaspoon of saffron for garnish
You can find all the ingredients at your nearest grocery store or on Amazon.
The process to make this dish is as follows:
- Set aside some of the chopped almonds, cashews, and pistachios for garnishing at the end.
- Wash the rice well. For this, run water over the rice a couple of times. Drain the water and set the rice aside. There is no need to soak the rice.
- Turn the Instant Pot on in ‘Saute’ mode.
- First, add the ghee to the Pot.
- Next add the remaining cashews, almonds, and pistachios along with raisins and fry until the nuts turn a light golden color. This should take about 30-40 seconds
- Next, add the sugar, Cardamom powder, and rice. Mix everything well together and continue to cook for another minute
- Add the coffee creamer or cream and the milk.
- Stir everything together well once more and close the Instant Pot with the lid.
- Set the pressure release valve to the sealed position.
- Select Porridge or Oatmeal mode and cook for 20 minutes.
- When the Instant Pot beeps, let the pressure release naturally.
- Now open the lid. Let any hot steam escape before taking a peek.
- Now stir the Payasam. If it is too thick, add a little milk and stir again until you get a thinner consistency. The consistency you are aiming for is a thick, creamy porridge-like consistency
- Ladle the Payasam into a bowl and garnish with Saffron and the nuts kept aside in step 1
This Payasam can be served hot or cold. It tastes superb either way.
If you are vegan, then you can make the following substitutions:
- Use coconut oil instead of ghee. Coconut oil has its own distinct flavor, so your Payasam may taste somewhat coco-nutty.
- Use dairy-free milk and cream instead of the dairy versions
If you don’t have an Instant Pot then this exact same recipe can be followed to make Payasam on the stove-top. It may take longer because you will have to keep stirring the Payasam.
This Payasam must be refrigerated if you wish to store it. Since it has milk products, it can go bad if left at room temperature for an extended period of time. Wait for the dish to cool before refrigerating.
That’s all there is to making delicious Paal Payasam. If you want to see what it looks like, you can always visit my blog and check out the recipe.
And just like that, we’re done with this episode!!
Thank you so much for listening to my podcast. I would love it if you could leave me a review below. If you enjoyed it, then please subscribe to Cookilicious Kitchen Stories.
Over the next couple of episodes I’ll be sharing with you, the key Indian spices you should have in your pantry if you wish to explore Indian cooking.
Do join me so we can continue our journey together.
Until next time, this is Priya signing off. Stay safe and keep cooking delicious!
Episode 2
Episode 3
Episode 4
Episode 5
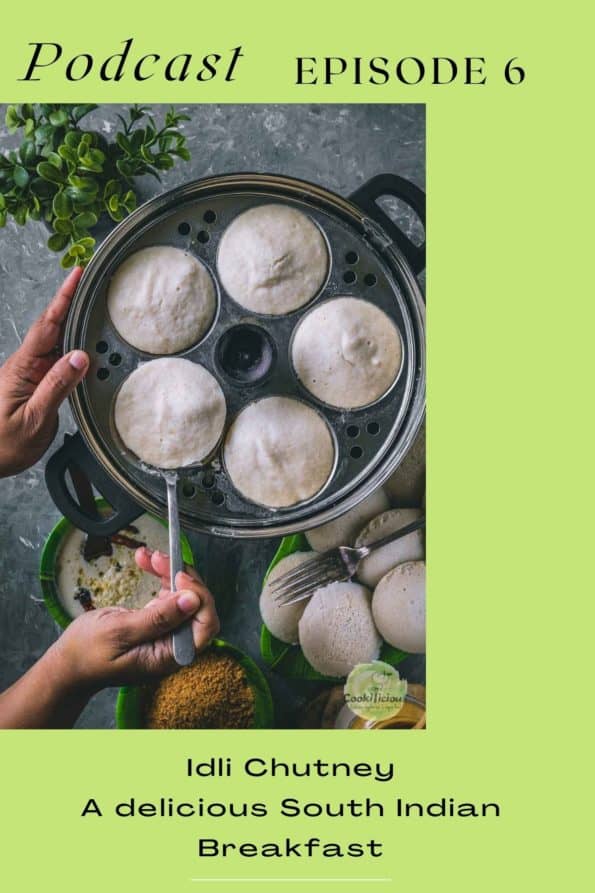
Episode 6
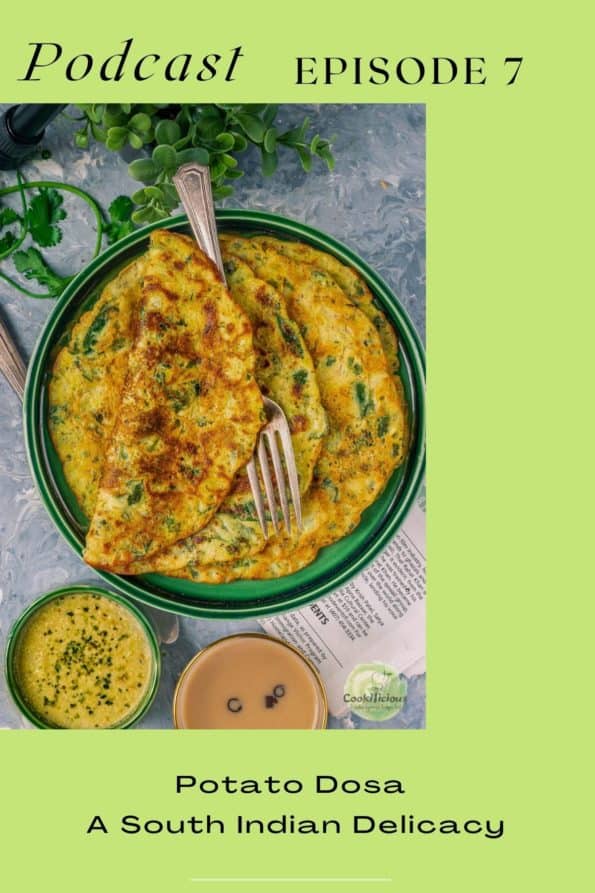
Episode 7

Leave a Reply