
From spending the last 8+ years developing plant-based recipes, I've attempted my fair share of vegan chocolate recipes. It all started when a brand sent me a batch of oat milk chocolate bars, and I became completely obsessed. They had this satisfying crunch to them that I couldn't get enough of. Then, out of nowhere, they discontinued it, and I was genuinely frustrated.
I tried several other store-bought vegan chocolate bars after that, but nothing quite hit the same spot - some were too sweet, or too bitter, and a few just fell apart before I could even take a bite.
This got me thinking - why not just make my own vegan chocolate bars recipe? I spent hours testing different ingredient combinations before landing on this exact version of vegan chocolate bars, and it's by far the closest I've come to that rich, snap-worthy texture you'd expect from a good chocolate bar.
That's when I discovered cacao butter, and it changed everything - it turned out to be the single most important ingredient for getting that authentic gluten-free, and dairy-free chocolate bar texture, the kind that's genuinely hard to fake without it.
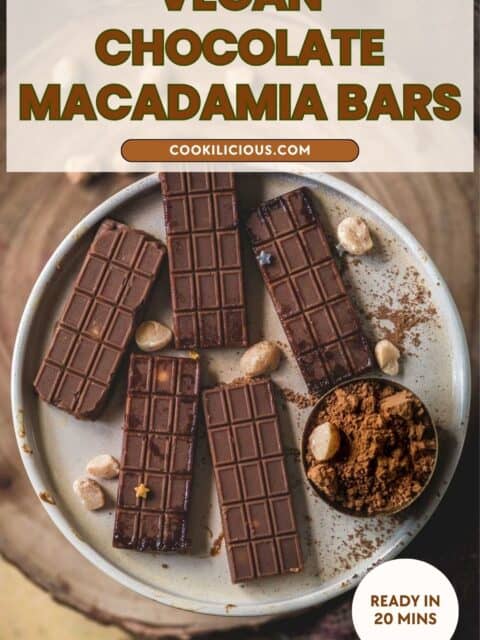
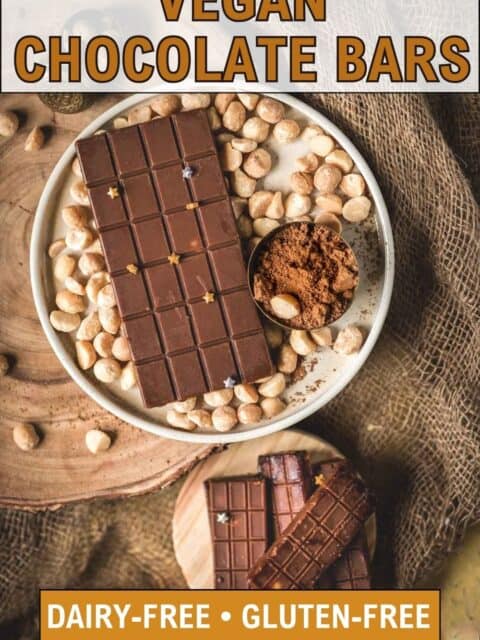
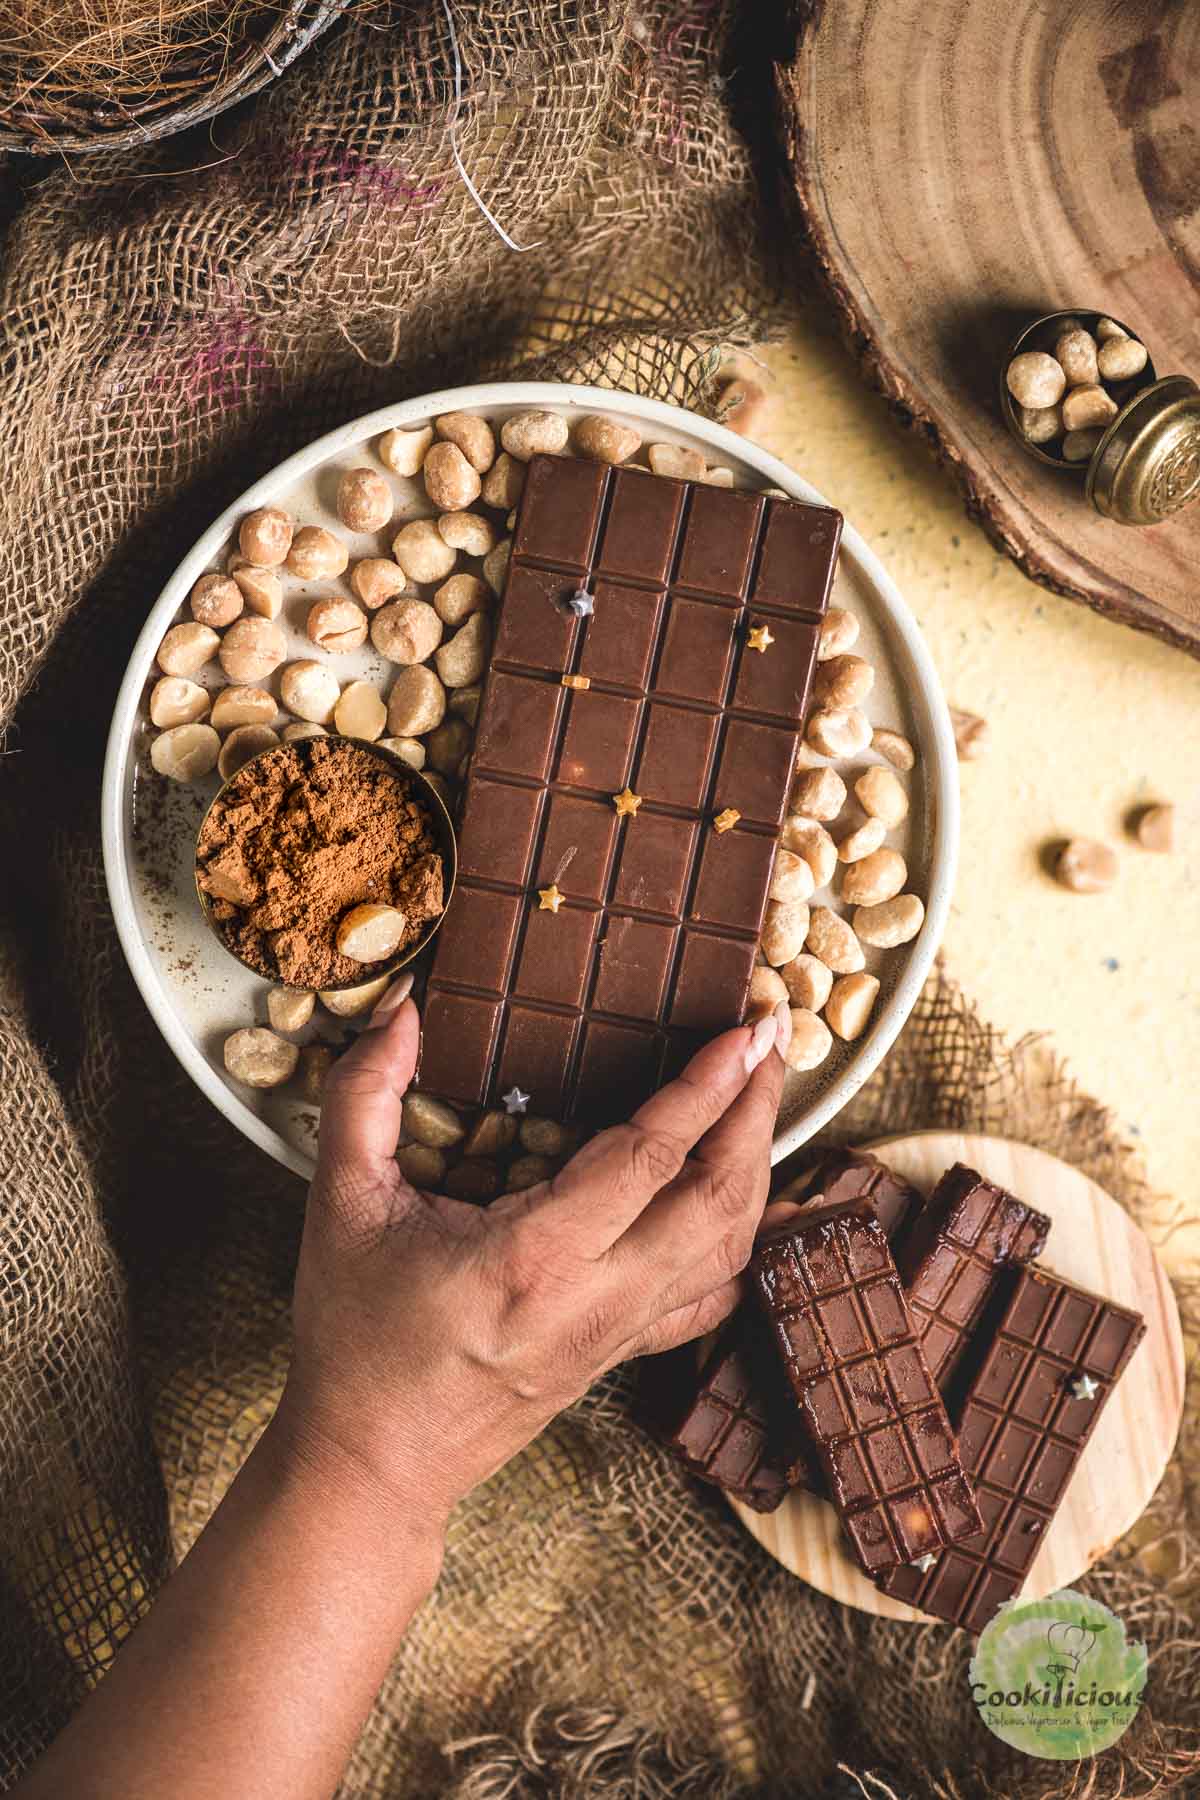
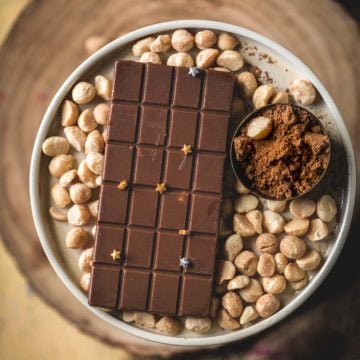
This homemade chocolate recipe is the result of all that testing: rich, dairy-free chocolate bars studded with crunchy macadamia nuts, made with real cacao powder and cacao butter, and ready in just 20 minutes. Now you know what you can make whenever a chocolate craving strikes!
Jump to:
- 🔍 Quick Look: Vegan Chocolate Bars
- Not All Chocolate Bars Are Vegan
- Cacao vs. Cocoa: What's the Difference
- Why Make It
- 🧾 Ingredients needed
- 🔪 How to make Homemade Chocolate bars
- 🍽 Serving Suggestions
- 💭 Priya's Recipe Tips
- Vegan Chocolate Bar Variations
- 📖 Vegan Chocolate Bar Recipe FAQs
- More Homemade Chocolate Recipes
- Recipe 📖
🔍 Quick Look: Vegan Chocolate Bars
- 🌍 Cuisine: American
- ⏱️ Prep Time: 5 minutes
- 🍳 Cook Time: 10 minutes
- 🕒 Total Time: 2 hrs 15 minutes (includes freezing time)
- 👥 Servings: 10 mini bars
- 📊 Calories: ~ 154.06 kcal per serving (based on nutrition panel)
- 🔥 Cook Method: No-Cook
- 👩🍳 Flavor Profile: Rich, sweet, and chocolatey
- ⭐ Difficulty: Simple and easy to make
Not All Chocolate Bars Are Vegan
You'd think chocolate would be vegan by default, but that's not always the case. Most store-bought chocolate bars - even dark chocolate ones - often sneak in milk fat, or are processed on shared equipment with dairy, so they're not always a safe bet if you're strictly following a vegan or dairy-free diet.
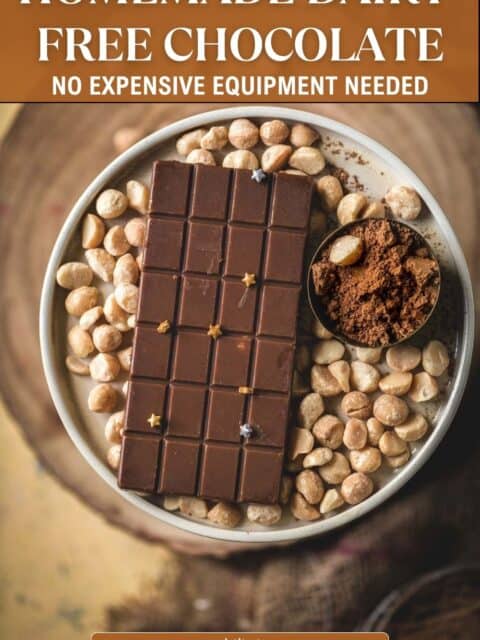
Traditionally, chocolate is made using a wet grinding machine called a melanger, which can cost a few hundred dollars and isn't something you'd typically find in most home kitchens. That's exactly why making vegan chocolate bars at home is worth it: with just a handful of pantry staples, you're in full control of every ingredient that goes in, no expensive equipment required, and they come together in under 20 minutes.
This vegan chocolate bars recipe uses real cacao powder and cacao butter as its base, giving it that satisfying snap and glossy sheen you'd expect from a proper chocolate bar - no dairy required.
If you love chocolate, then check out these chocolate-based recipes - from mousse and cookies to ice cream and smoothies, there's something here for every craving: Vegan Chocolate Ricotta Mousse, Vegan Chocolate Chip Marshmallow Cookies, Chocolate Brownie Milkshake, Chocolate Coconut Macaroons, Raspberry Rose Hot Chocolate, Chocolate Thandai Bark, Coconut Milk Ice Cream With Chocolate, and Chocolate Avocado Smoothie.
Cacao vs. Cocoa: What's the Difference
This is one of the most common questions people ask when making homemade chocolate bars or baking in general. Both cacao and cocoa come from the same plant, Theobroma cacao, but they're processed differently, which changes how they taste and behave in recipes.
Cocoa powder is roasted at a much higher temperature, while cacao powder is raw and minimally processed - making it the purest form of chocolate, with more of its natural antioxidants, iron, fiber, and magnesium intact. Cacao also tends to taste stronger and more bitter than cocoa. The two can be swapped 1:1 in most recipes, including this vegan chocolate bars recipe, so cocoa powder works fine if that's what you have on hand.
One exception: Dutch-processed (alkalized) cocoa doesn't always behave the same as natural cocoa or cacao in recipes that rely on a leavening agent - not a concern here since this recipe is no-bake, but worth knowing for baking elsewhere. Cacao powder is still the smarter pick if you want a richer flavor and more nutrients.
Why Make It
- 🌱 A gluten-free, dairy-free, vegan chocolate bar recipe you can trust - no hidden milk fat, no shared-equipment guesswork, or hard-to-find ingredients
- 🥣 Made with just a handful of basic pantry staples, including cacao powder and cacao butter
- 🚫🔥 A completely no-cook dessert - no oven, no stovetop baking required
- ⏱️ Comes together in under 20 minutes of active time (plus freezing)
- 👨🍳 Simple and safe enough to make with kids - a fun hands-on treat for the whole family
- 🥜 Chocolate macadamia nuts combo adds texture and flavor
- 🍬 A healthier, homemade chocolate alternative to store-bought dairy-free chocolate bars, with none of the preservatives, sugar overload, or mystery ingredients
- 🌍 Loved by all - plant-based chocolate that even non-vegans will enjoy
- 🔄 Versatile - this chocolate melts beautifully and can be used as the base for other homemade chocolate desserts, not just bars
- 🎁 Makes a thoughtful homemade gift - get creative with different nuts, mix-ins, or flavorings to make each batch your own
🧾 Ingredients needed
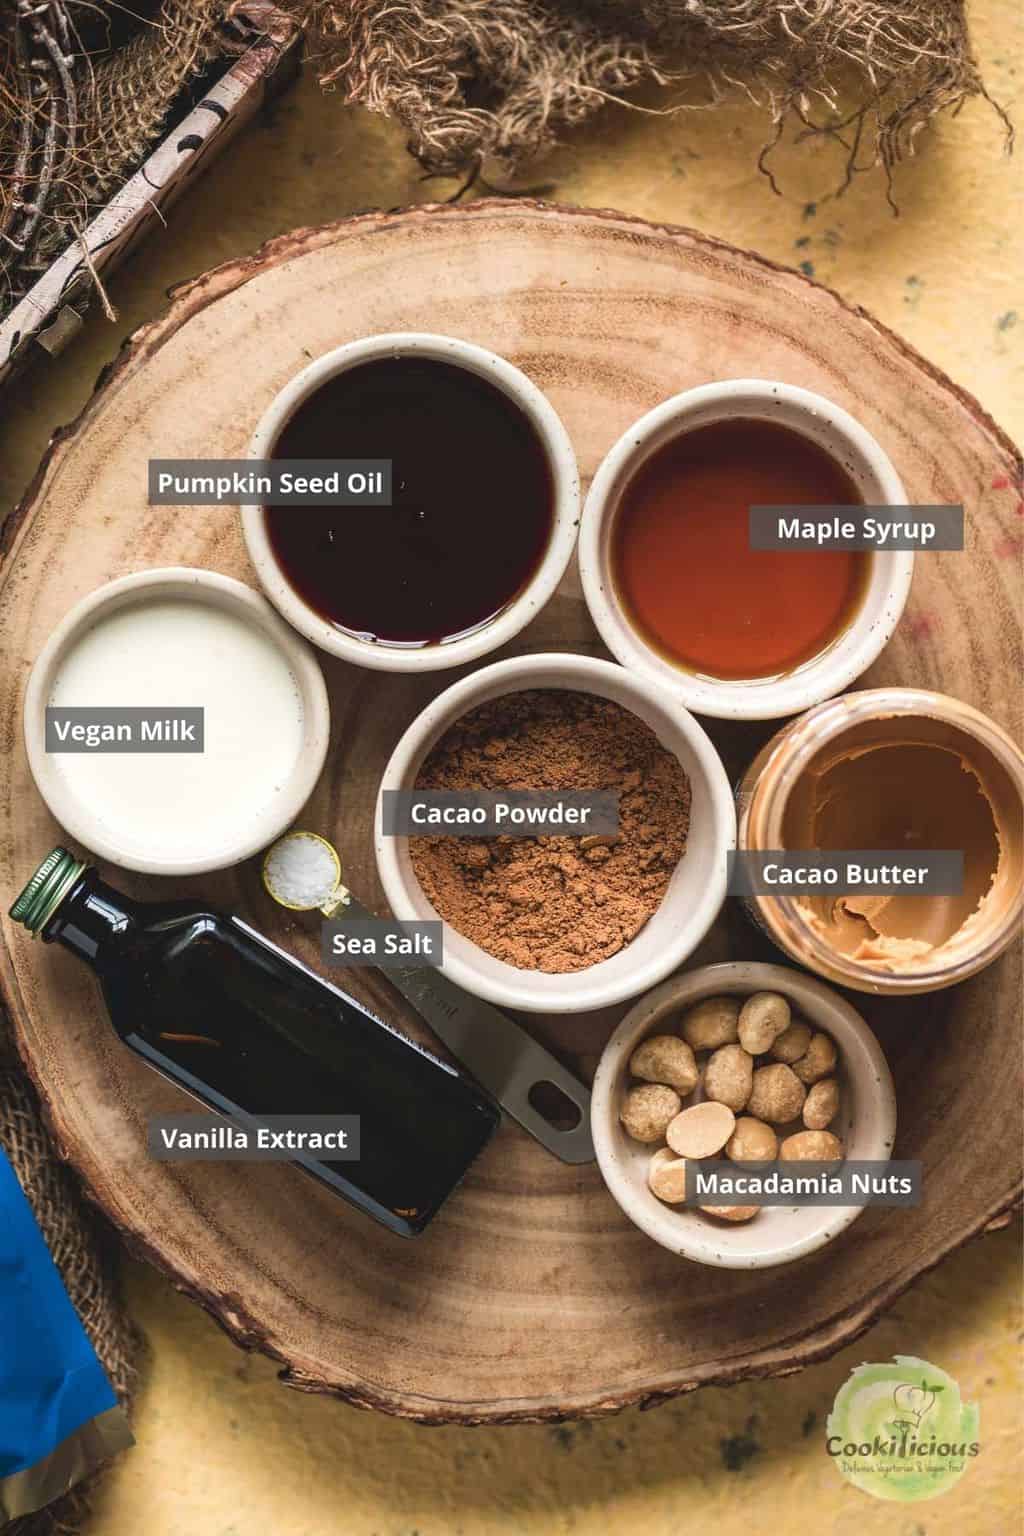
Cacao powder and cacao butter - the heart of this vegan chocolate bars recipe. Using good-quality cacao powder makes a real difference here, and real cacao butter is the key to that satisfying snap and glossy sheen you'd expect from a proper chocolate bar. I've used ready-made liquid cacao butter for this recipe, which mixes in easily. If you only have solid cacao butter (the block form), melt it first using a double boiler before adding it to the batter, since it won't blend smoothly into the other room-temperature ingredients otherwise.
Maple syrup - adds a mild, natural sweetness to this homemade chocolate without overpowering the cacao flavor.
Dairy-free milk - I've used oat milk here, but any unsweetened dairy-free milk like almond milk, cashew milk, or coconut milk works well too.
Oil - I've used pumpkin seed oil in this recipe, but coconut, avocado, or olive oil are all good substitutes if that's what you have on hand.
Macadamia nuts - toast and roughly chop them before adding, since roasting brings out a deeper aroma and gives these chocolate macadamia nut bars that satisfying crunch.
Vanilla extract and sea salt - helps round out the flavors of this dairy-free chocolate bar. Himalayan pink salt or regular salt work fine in place of sea salt if needed.
Chocolate bar molds - since we're making actual chocolate bars, a proper mold is what gives them that classic sectioned look. I recommend these silicone big size chocolate bar molds or mini chocolate molds. You can also check out craft stores like Joann's or Michaels in the baking aisle. If you don't have one on hand, feel free to use ice cube trays or whatever mold shape you have available - the recipe works just as well either way.
🔪 How to make Homemade Chocolate bars
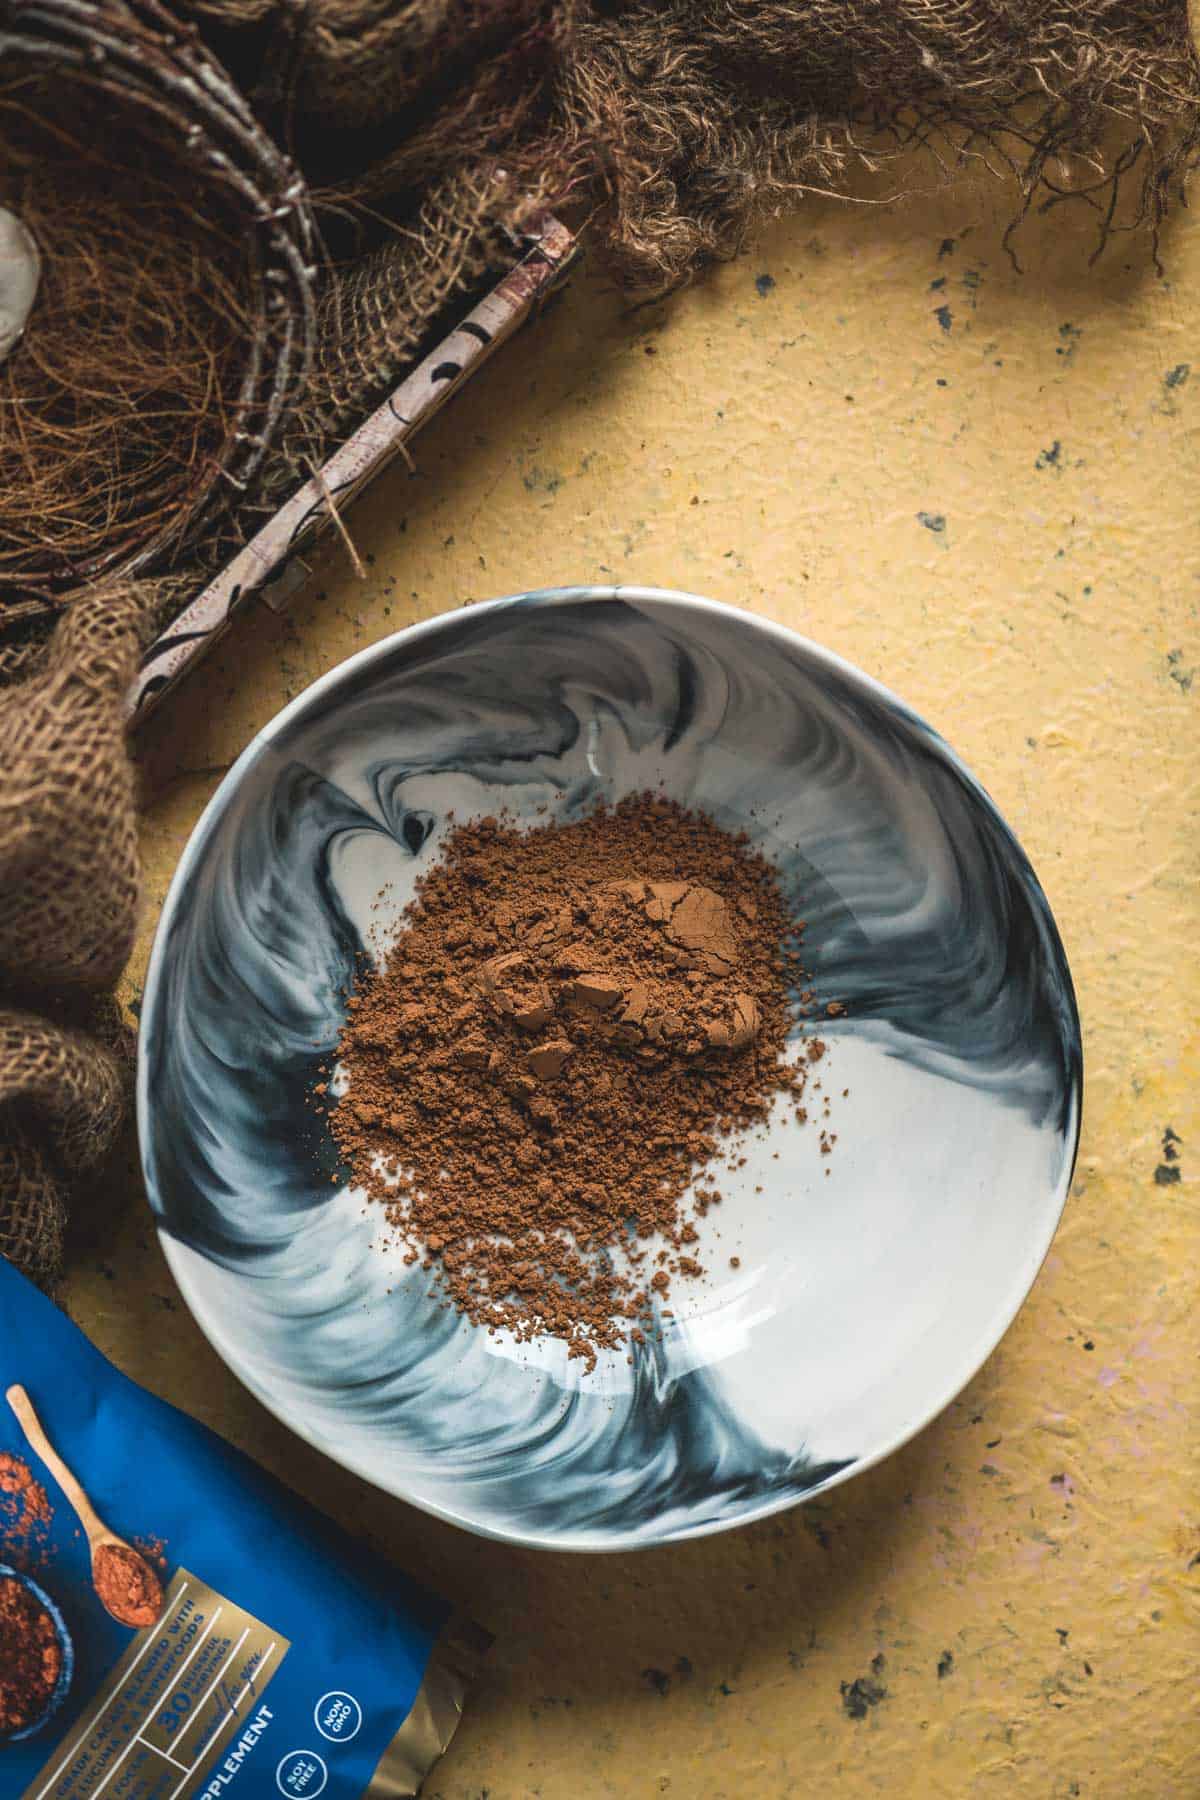
- Step 1: In a mixing bowl, add the cacao powder.
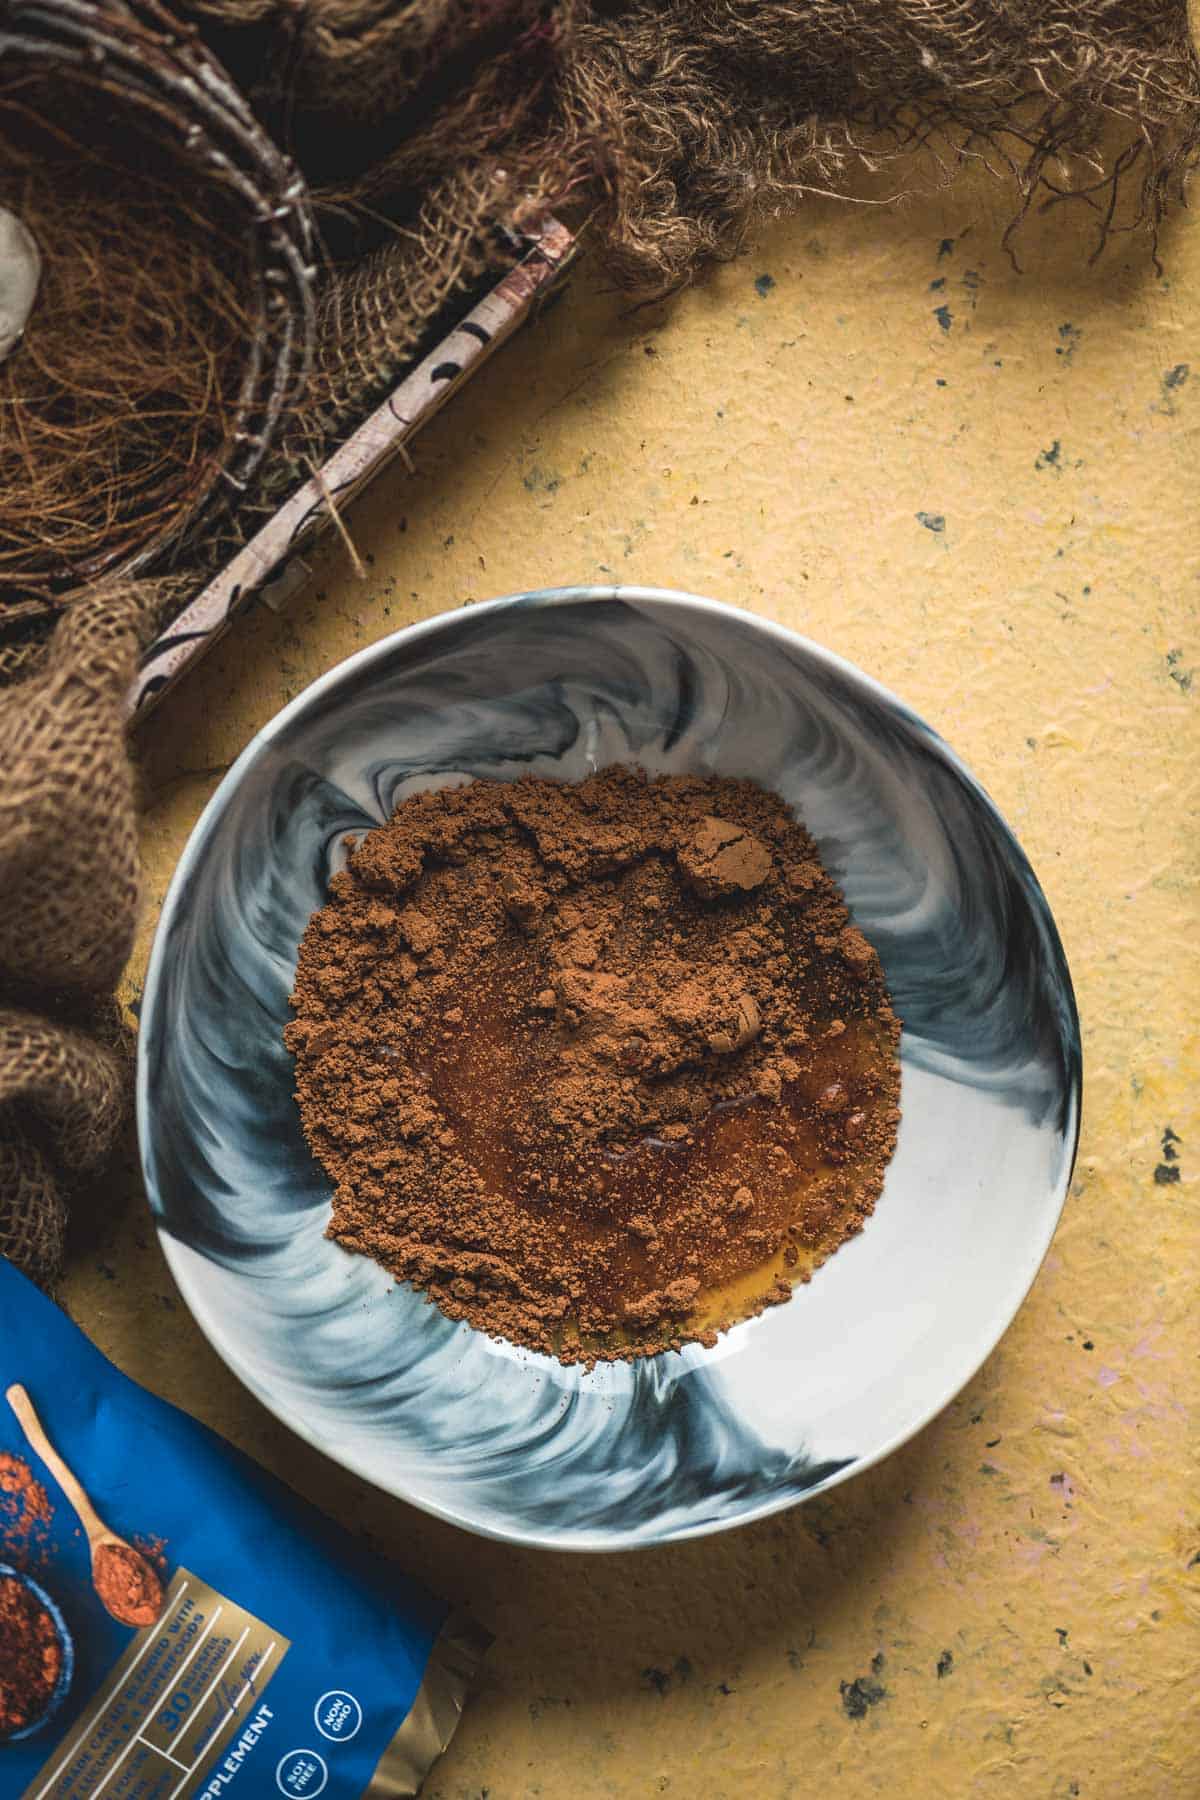
- Step 2: Add maple syrup and vanilla extract to the bowl.
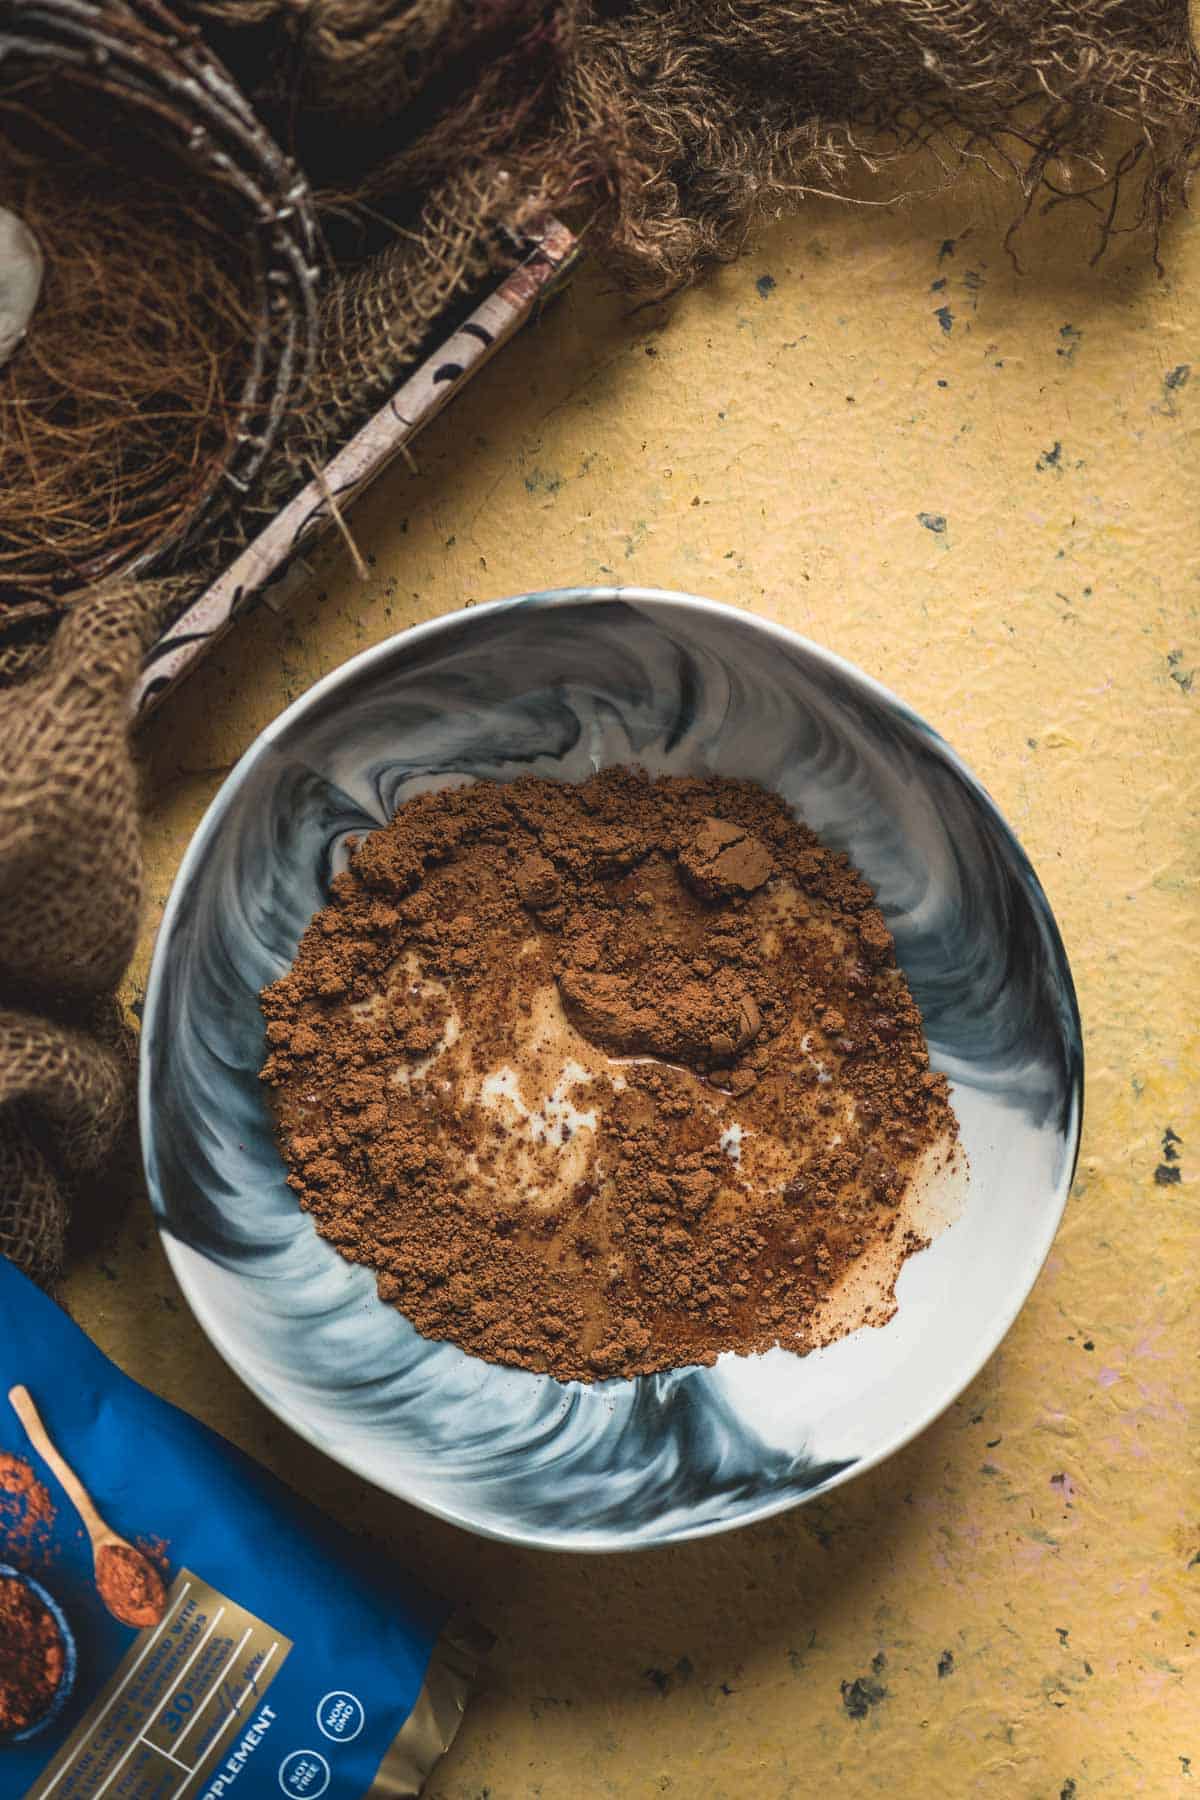
- Step 3: Add oat milk at room temperature - this helps the mixture blend smoothly without seizing.
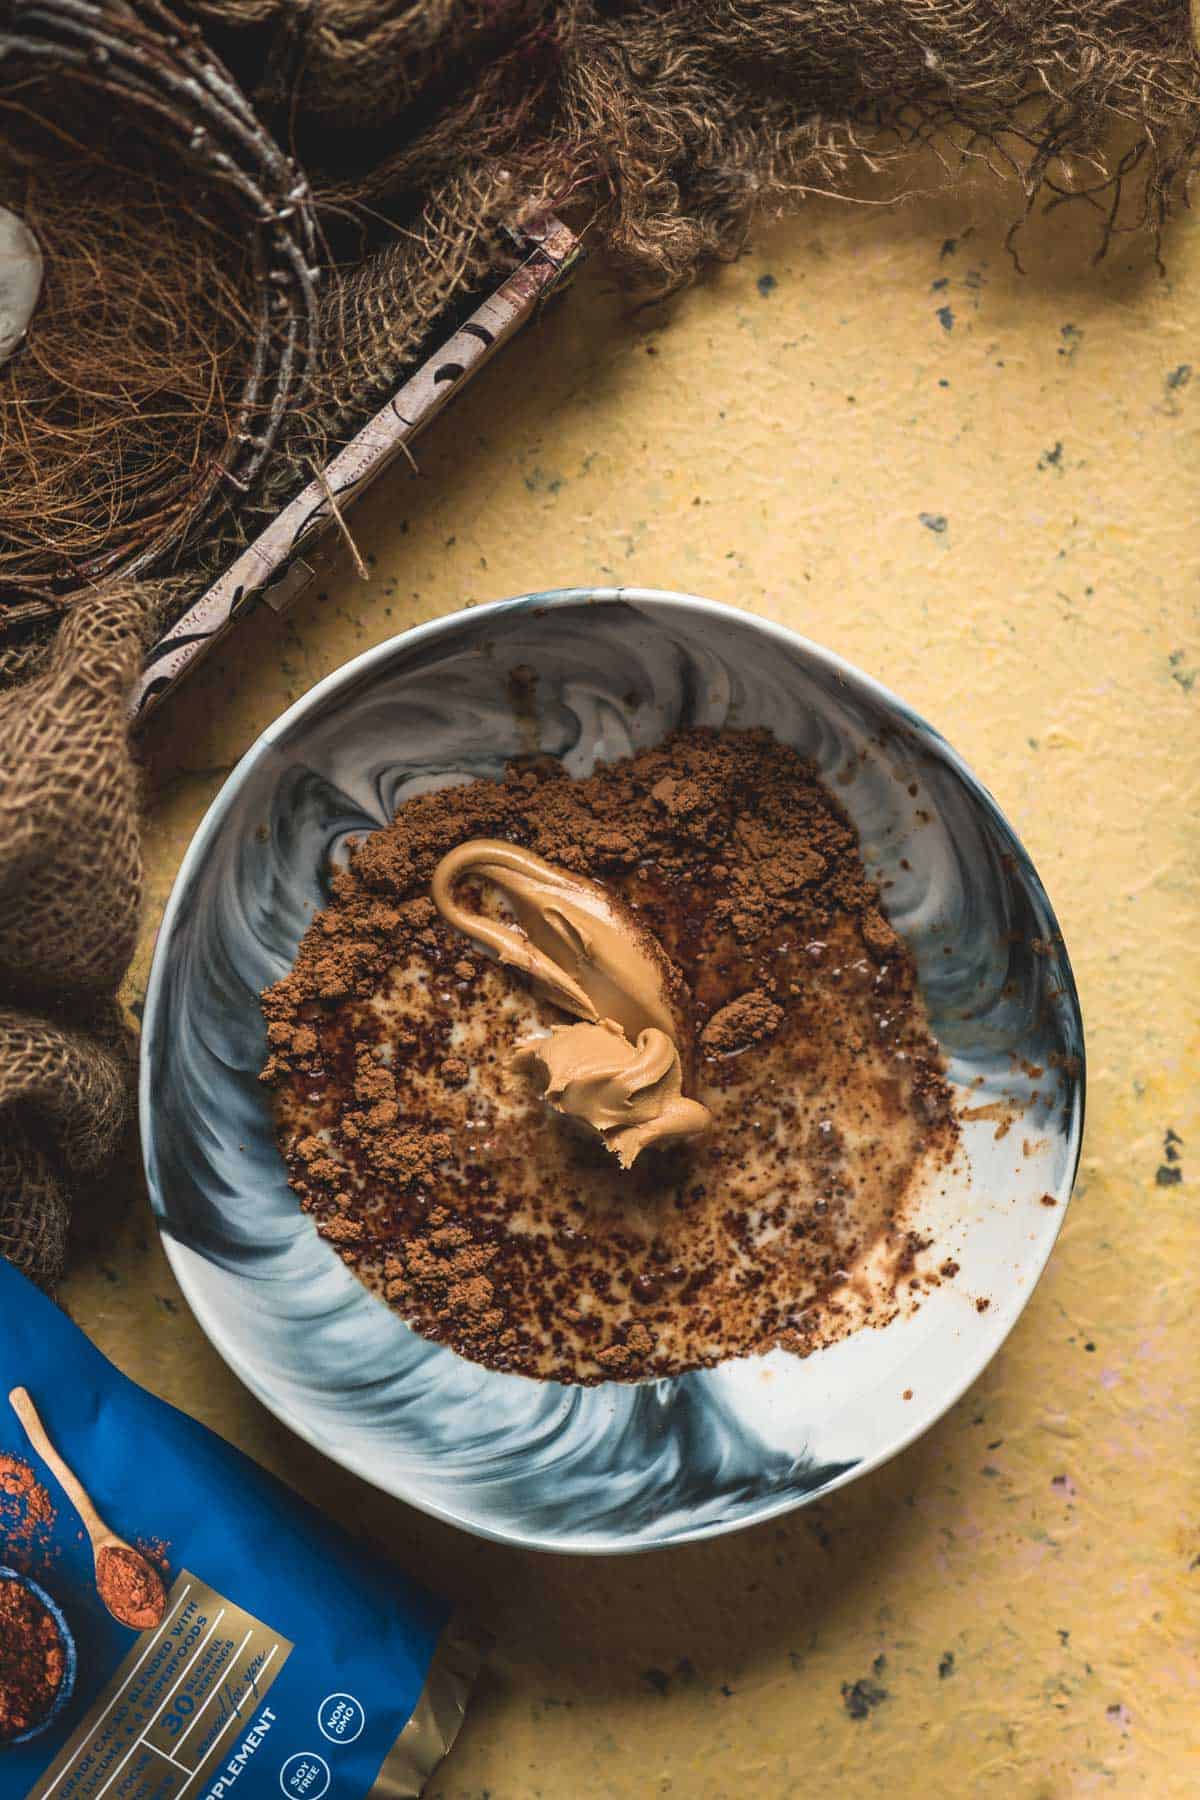
- Step 4: Add the cacao butter.
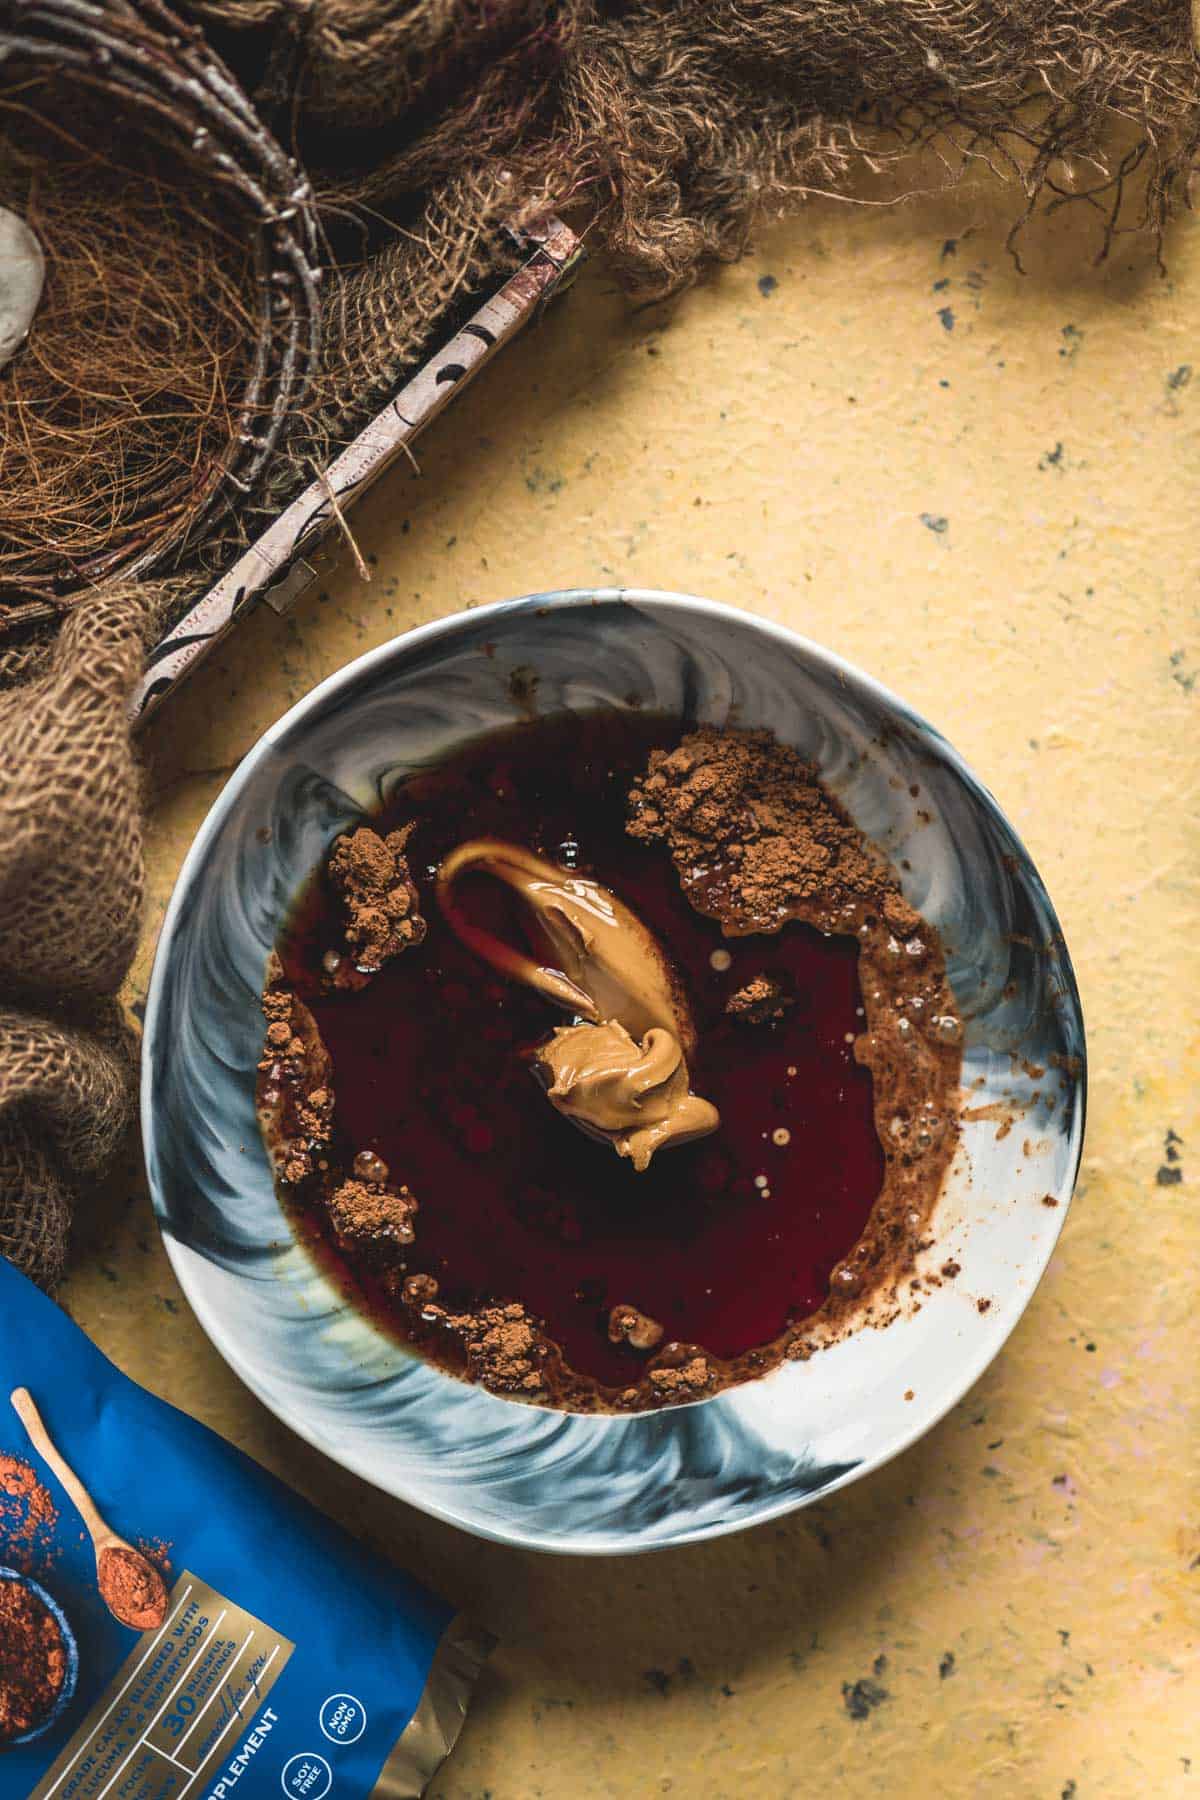
- Step 5: Add the pumpkin seed oil and sea salt.
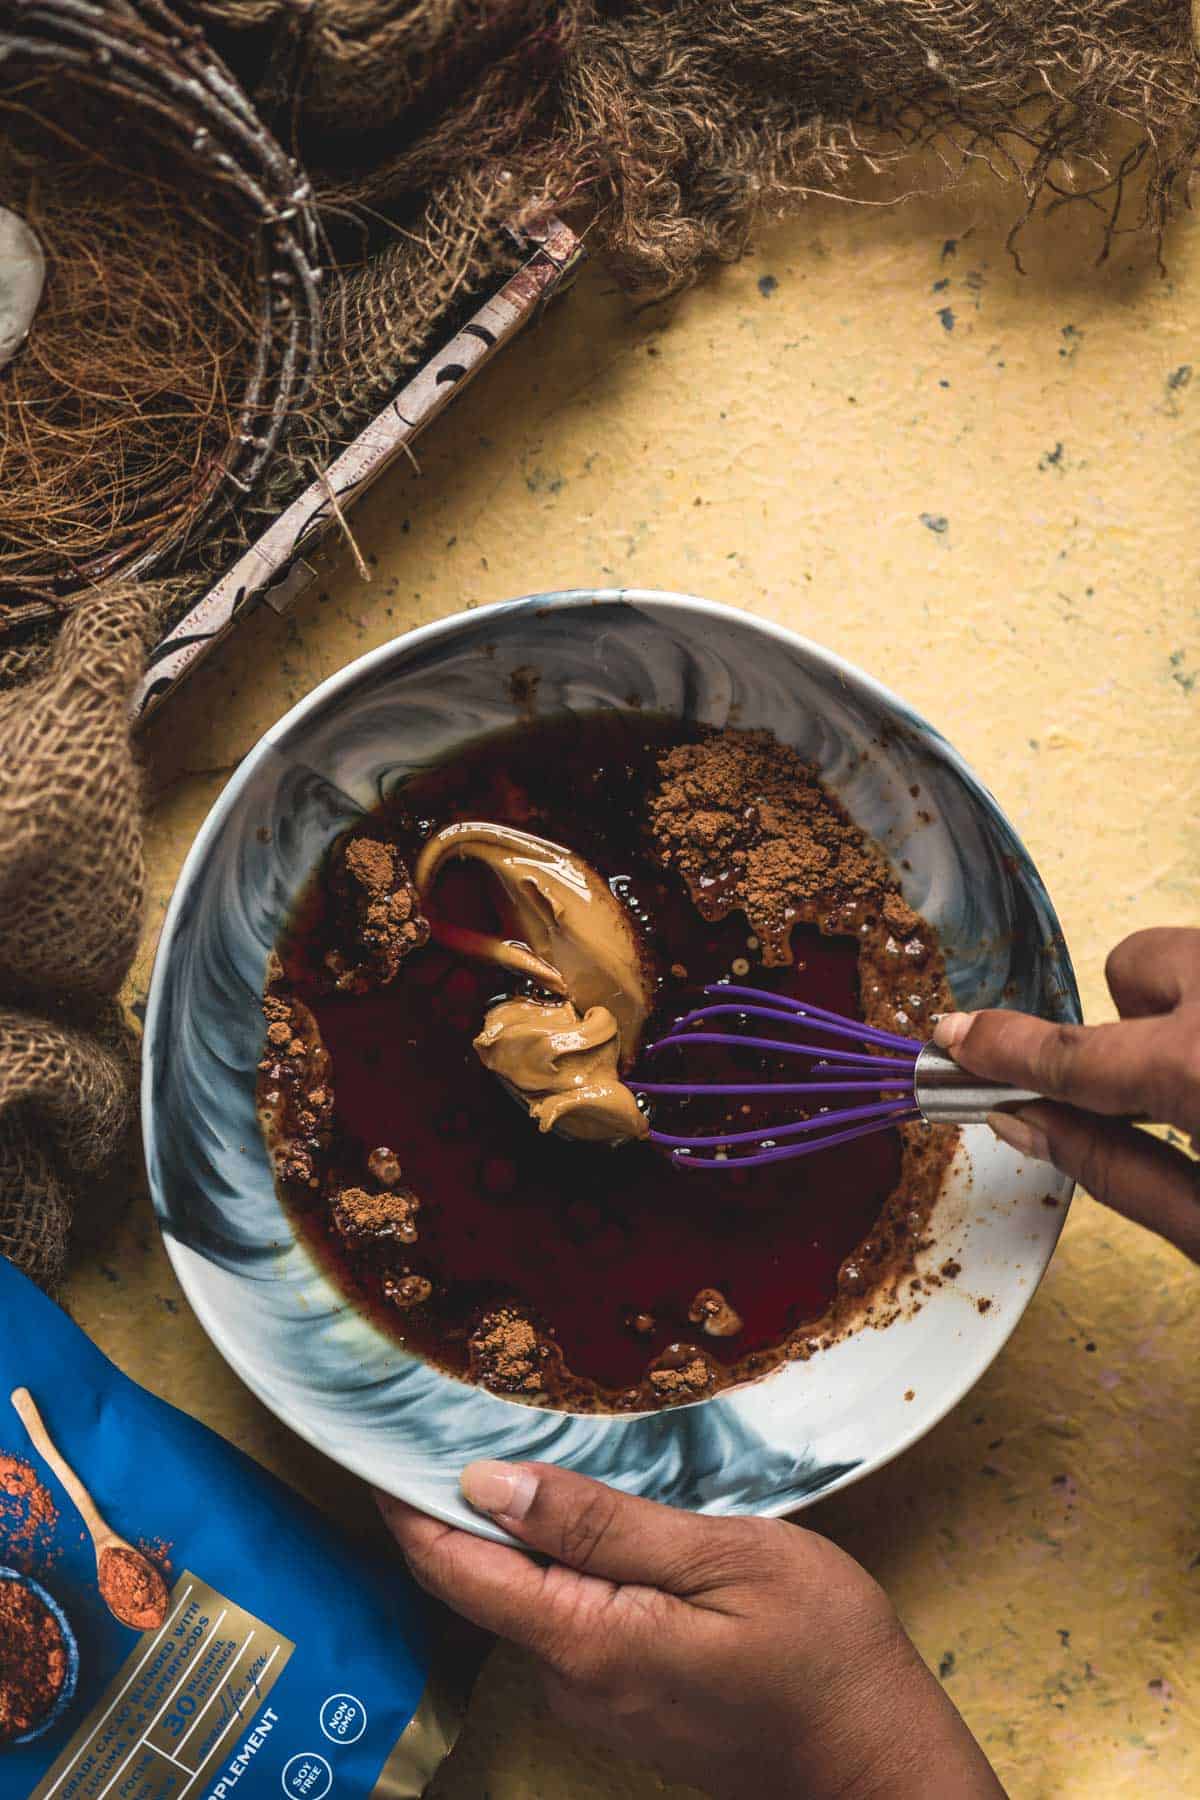
- Step 6: Then whisk everything together until smooth.
Want to save this recipe?
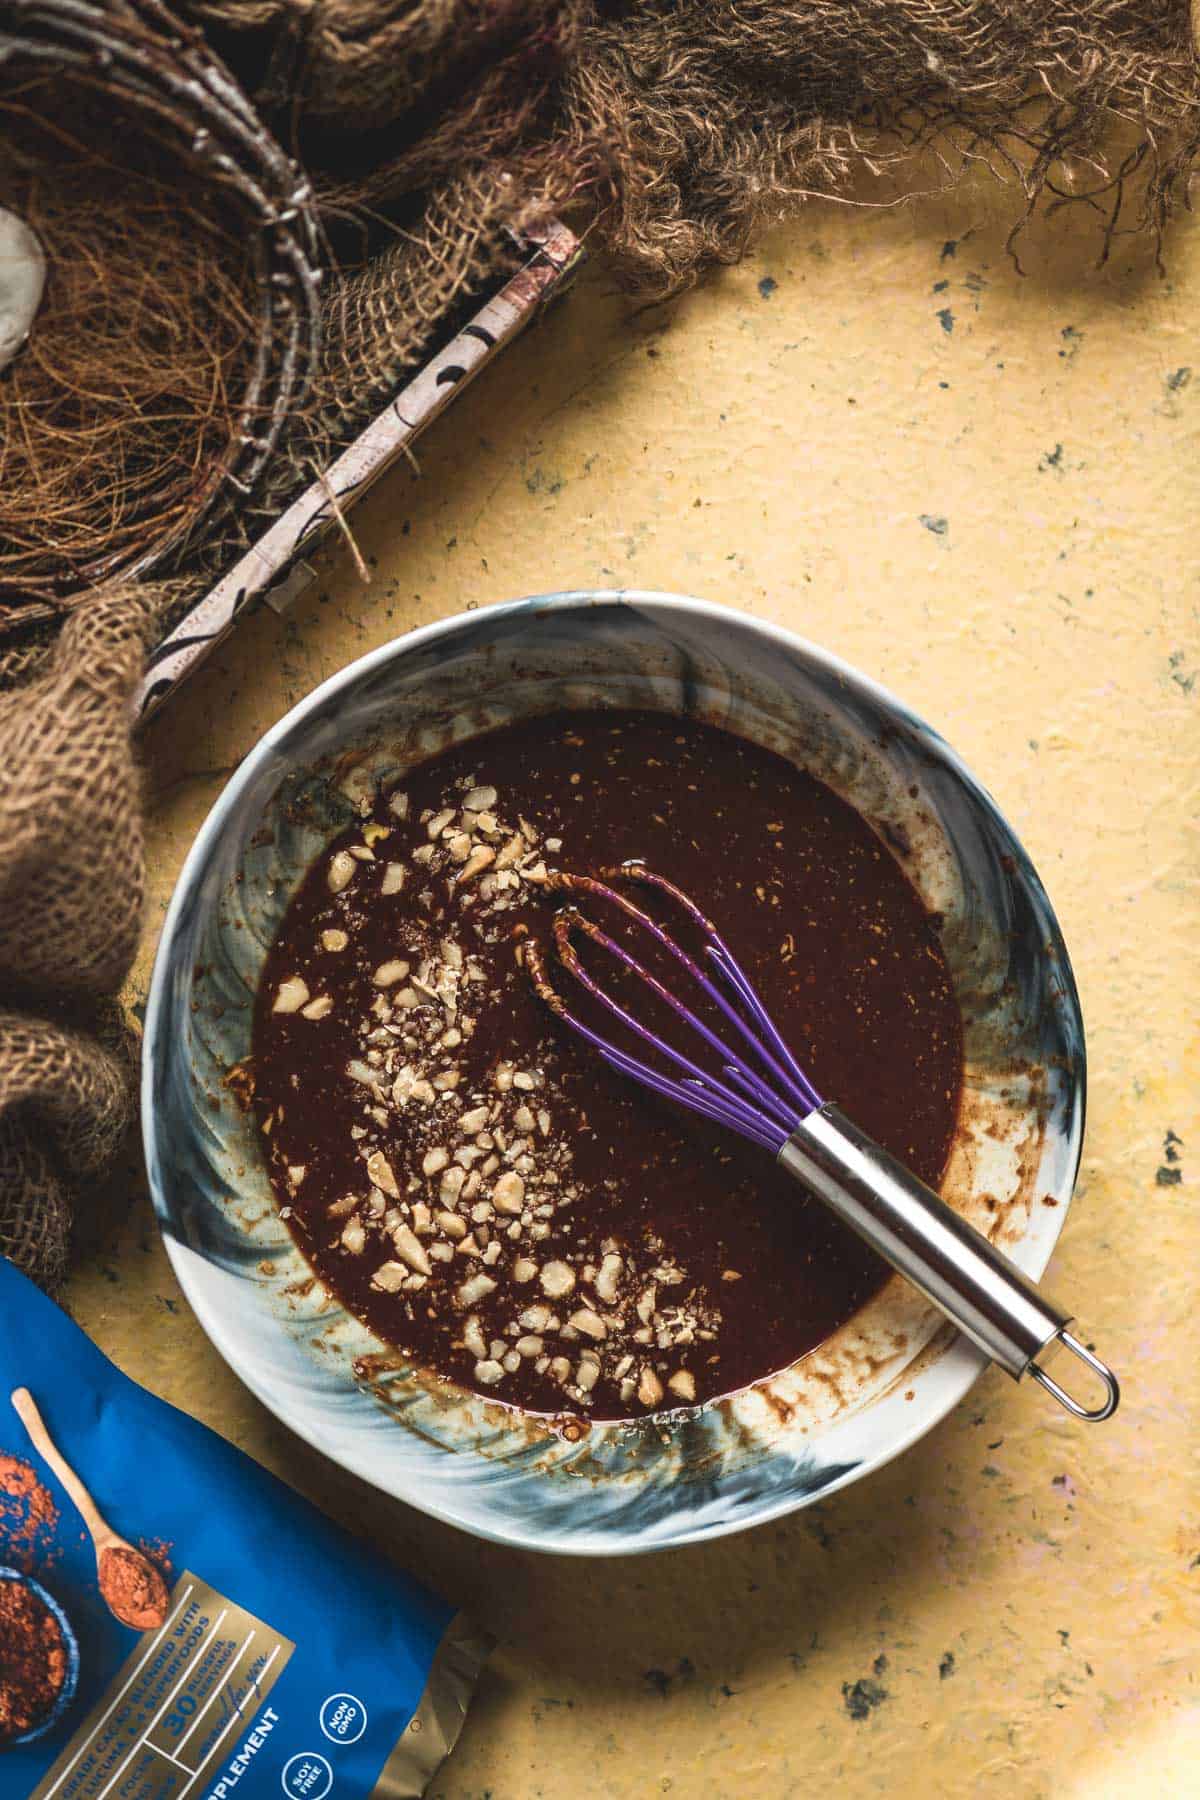
- Step 7: Add roasted and chopped macadamia nuts to the bowl and mix them into the chocolate batter.
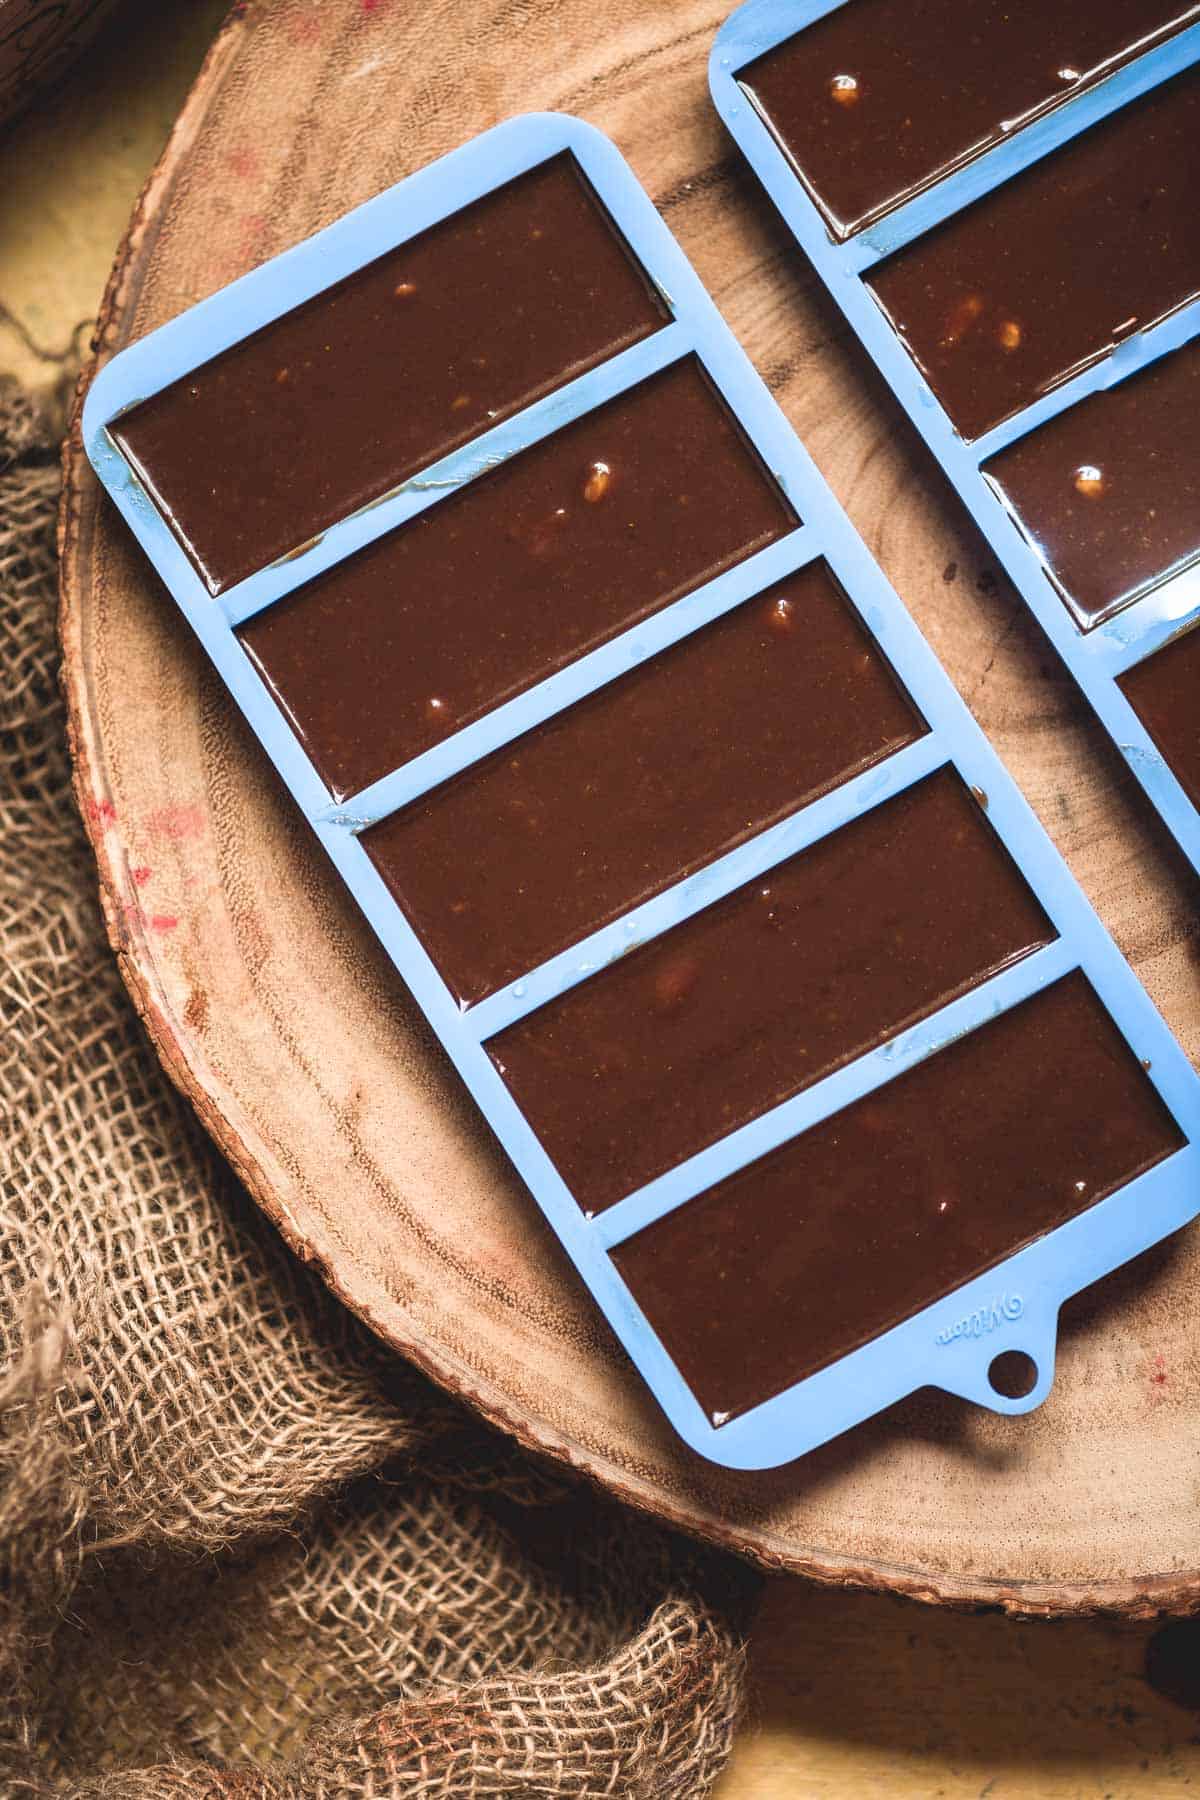
- Step 8: Immediately pour the batter into your chocolate bar molds, spreading it evenly. Tap the mold gently to release any air bubbles, then freeze for 2 hours before carefully de-molding your homemade vegan chocolate bars.
🍽 Serving Suggestions
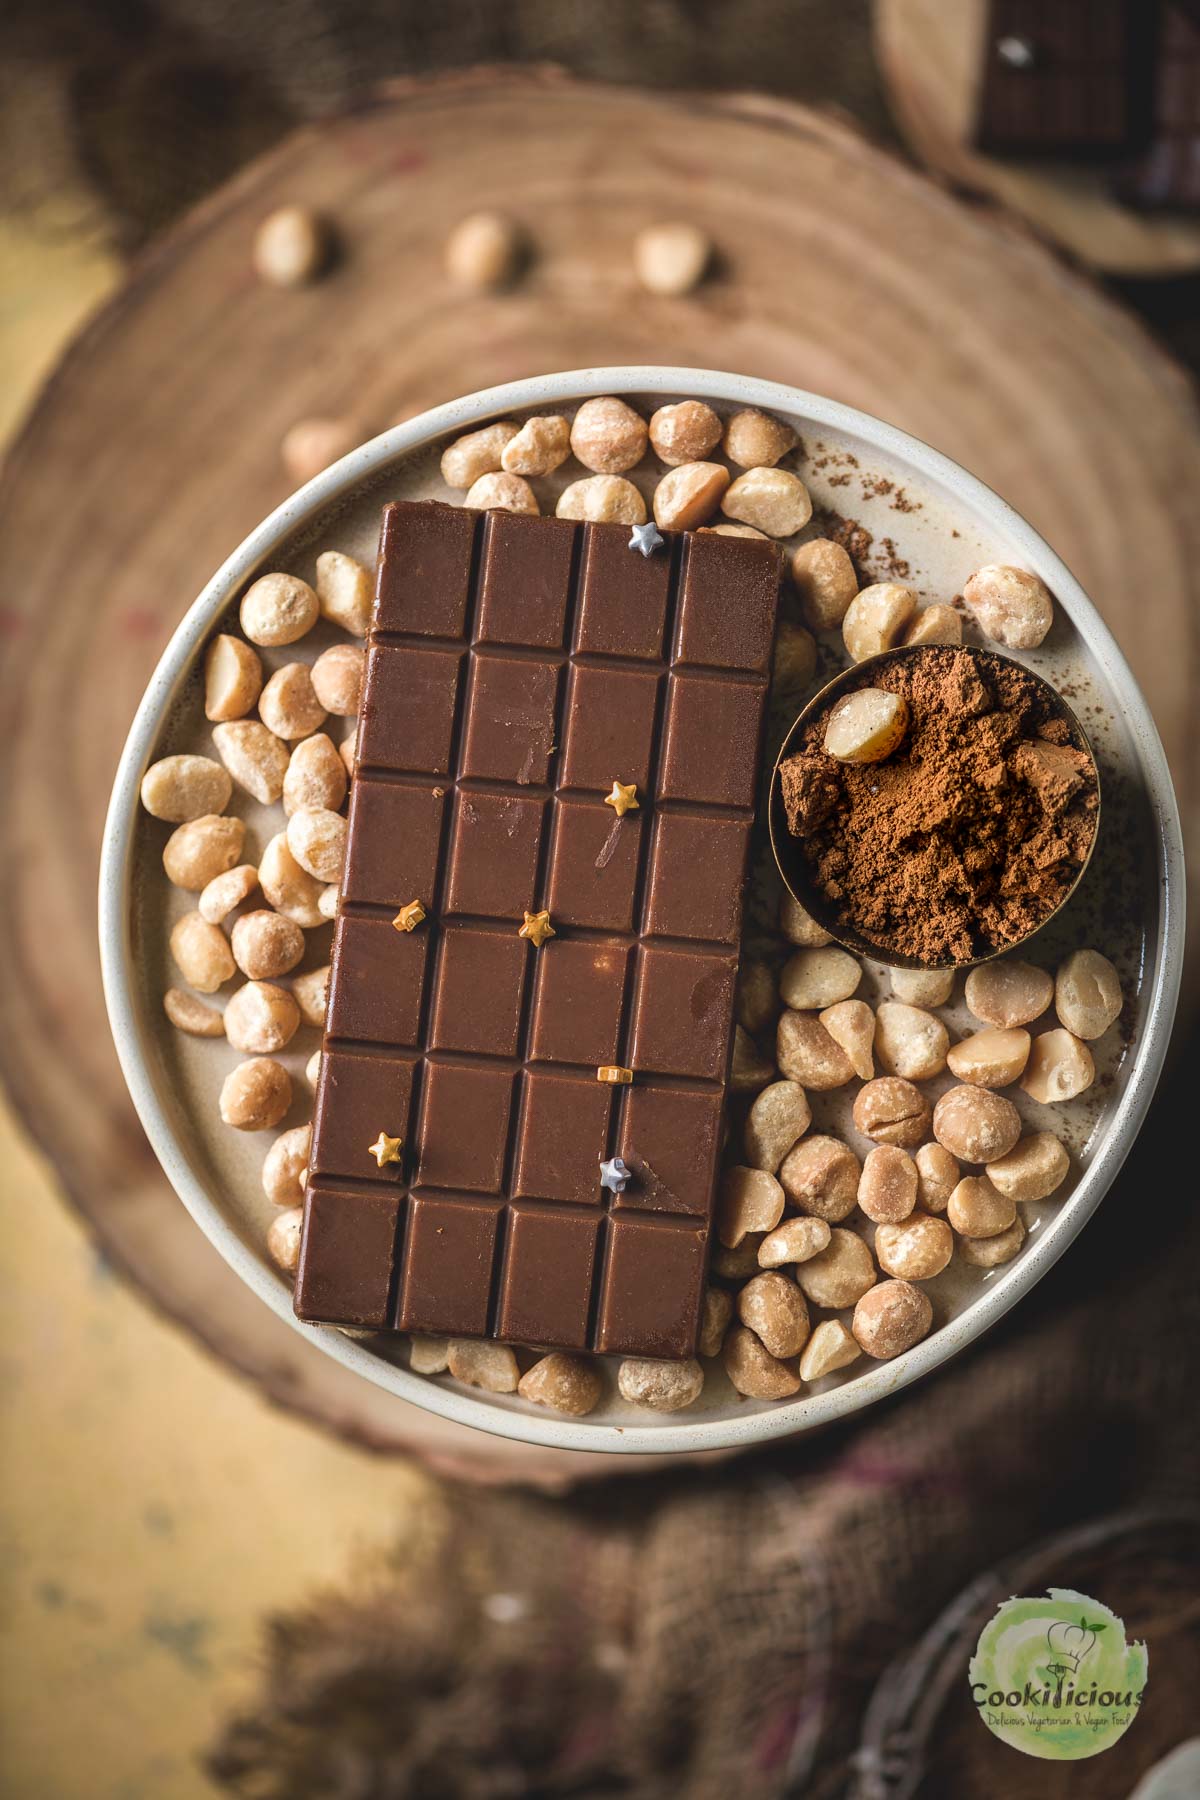
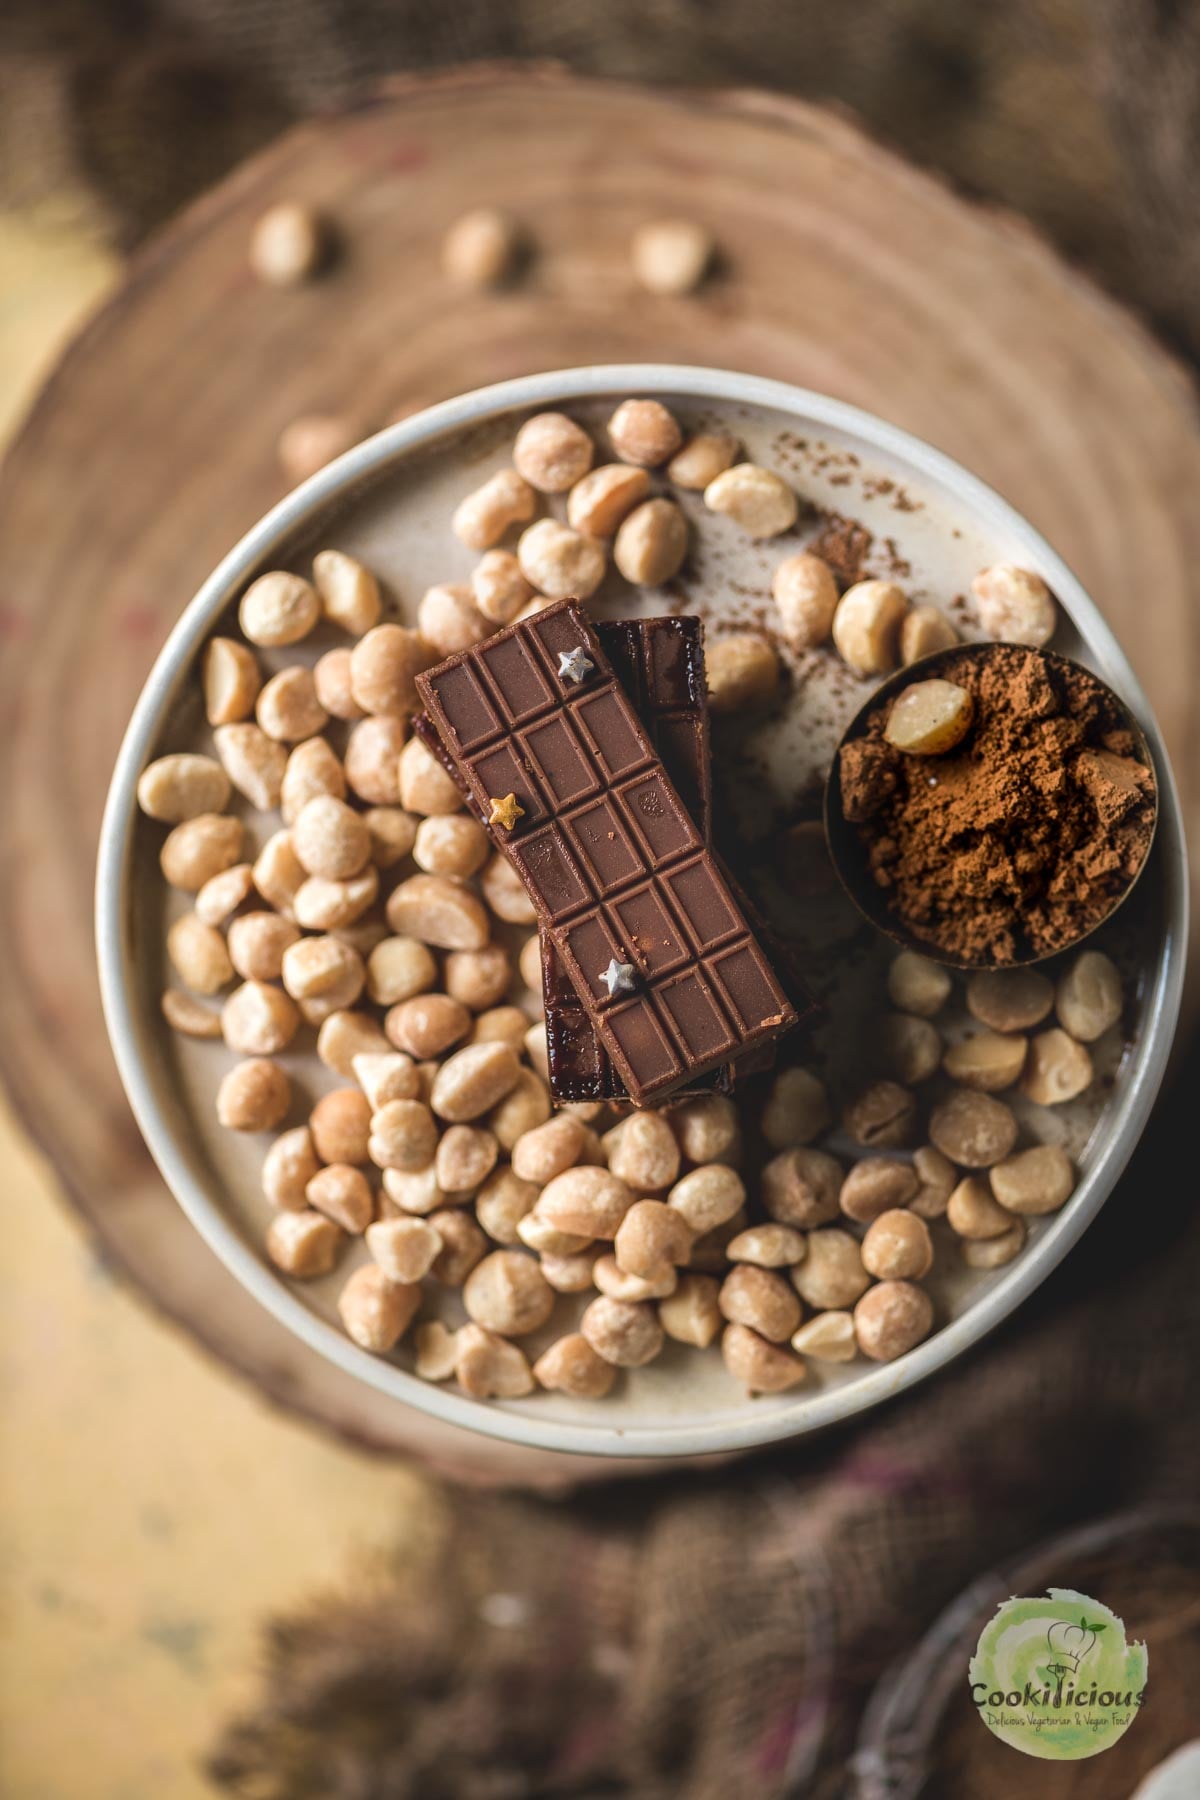
Once the vegan bars have set, enjoy them straight out of the freezer or fridge - they're best kept slightly chilled since this is a no-bake, no-cook dessert and will soften if left out at room temperature for too long. Break them into pieces to snack on whenever a chocolate craving strikes, or use them to build a dairy-free dessert platter alongside other treats for a party or gathering.
These homemade chocolate bars also make a wonderful topping - crumble them over a bowl of fruit, yogurt, teff porridge, or oatmeal, or melt a piece down for a quick dairy-free chocolate drizzle on your brownie milkshake or eggless chocolate brownies. You can also chop them up and fold them into blondie or ferrero rocher cookie batter for pockets of melty chocolate - a great way to repurpose a half-used bar. And since this chocolate bar is versatile enough to double as a base for other desserts, don't be afraid to get creative: use it for s'mores, dip fruit into a melted piece, or layer it into barks like cottage cheese bark with extra toppings.
Wrapped individually, these dairy-free chocolate bars also make a lovely homemade gift for birthdays, anniversaries, special occasions, or for Valentine's Day - where you can pair it with Cherry Lemon Iced Tea. It's a thoughtful, personal touch that's hard to match with anything store-bought. They're also perfect for a cozy date night in alongside some Amortentia, or as a sweet addition to a mithai charcuterie board alongside your other favorite treats. This vegan chocolate recipe is a nice reminder that plant-based chocolate can be just as indulgent, and something even non-vegans in your life will enjoy.
💭 Priya's Recipe Tips
- Use room-temperature milk. Cold milk can cause the mixture to seize or turn grainy - let it come to room temperature before adding it to the batter.
- Avoid water and liquids at all costs. This is the #1 mistake people make with homemade chocolate. Even a tiny splash of water hitting your batter can cause it to seize - turning from smooth and glossy to dull, clumpy, and grainy almost instantly. Keep your workspace and tools completely dry while mixing.
- Work quickly once everything is combined. Vegan bars set fast, so pour the batter into the molds right after mixing to avoid it firming up in the bowl.
- Tap out any air bubbles. Gently tap the mold on the counter after pouring to release trapped air bubbles, giving your bars a smoother, more professional finish.
- Freeze until fully set before de-molding. Rushing this step can cause the vegan bars to crack or break apart when you try to remove them. Be patient.
- Roast the macadamia nuts first. This brings out a deeper, toastier flavor and adds extra crunch to your chocolate macadamia nut bars.
Vegan Chocolate Bar Variations
Once you've nailed the base recipe, this vegan chocolate bars recipe is easy to customize. Here are a few ideas to try:
- Swap the nuts. Trade the macadamia nuts for roasted and chopped hazelnuts, pistachios, cashews, almonds, or peanuts, Rice Krispies, roasted granola, or toasted seeds, or go for a fruit-and-nut bar by adding dried cranberries, raisins, or tutti frutti.
- Add toasted coconut. Fold in some shredded, toasted coconut before pouring the batter into the molds for a coconut-chocolate bar variation.
- Try different flavorings. A couple of drops of an oil-based flavoring - mint, orange, pistachio, or rose - can give these dairy-free chocolate bars a completely different personality. Use coconut oil or olive oil instead of pumpkin seed oil. Add a tablespoon of almond butter or cashew butter for a more nutty flavor.
- Mix in cacao nibs or sea salt flakes. For extra crunch and texture in this plant-based chocolate bar recipe, stir in some cacao nibs or finish with a sprinkle of coarse sea salt on top before freezing.
📖 Vegan Chocolate Bar Recipe FAQs
Yes - maple syrup can be swapped for vegan honey, agave syrup or another liquid sweetener of your choice. Just keep in mind that swapping to a different sweetener may slightly change the flavor and consistency of the final dairy-free chocolate bar.
Yes, cocoa powder and cacao powder can be swapped 1:1 in this vegan chocolate bars recipe. Cacao powder will give you a richer flavor and more nutrients, but cocoa powder works just fine if that's what you have on hand.
It depends on the form of cacao butter you're using. I've used ready-made liquid cacao butter, which mixes in easily without any extra step.
If you only have solid cacao butter (the block form), you'll need to melt it first using the double-boiler method, or it won't blend smoothly into the other room-temperature ingredients.
To melt it at home: bring 2 cups of water to a boil in a pan. Place an oven-safe glass bowl on top with the cacao butter chunks inside, making sure the bowl doesn't touch the water. Whisk continuously until fully melted, then set it aside to cool slightly before using.
Beyond water exposure (covered in the tips above), grainy chocolate usually comes down to ingredients not being fully incorporated - make sure the cacao powder is completely whisked in with no lumps, and that your milk is at room temperature, not cold, before adding it.
This recipe skips the complex tempering process entirely, but you can still get a naturally glossy finish by using a clean, unscratched silicone or polycarbonate chocolate mold - the smoother the mold surface, the shinier your bars will look once de-molded.
This usually comes down to thickness - a thinner layer in the mold sets faster and firmer than a thick one. If your bars are still soft after a full 2 hours in the freezer, try spreading the batter a little thinner next time, or give it extra freezer time.
Store your homemade dairy-free chocolate bars in an airtight container in the fridge for up to 2 weeks, or in the freezer for up to 2-3 months. Since this is a no-bake recipe, they'll soften or even melt if left out at room temperature for too long, so avoid leaving them out on the counter.
More Homemade Chocolate Recipes

Recipe 📖
Vegan Chocolate Macadamia Bars
Equipment
- Chocolate Bar Molds
Ingredients
- 2 tablespoon cacao powder
- 4 tablespoon maple syrup
- 1 teaspoon vanilla extract
- 2 tablespoon dairy-free milk
- 2 tablespoon cacao butter
- ½ cup pumpkin seeds oil
- ¼ teaspoon Sea salt
- 7-8 macadamia nuts roasted
Instructions
- In a mixing bowl, add the cacao powder.
- Add maple syrup and vanilla extract to the bowl.
- Add oat milk at room temperature - this helps the mixture blend smoothly without seizing.
- Add the cacao butter.
- Add the pumpkin seed oil and sea salt.
- Then whisk everything together until smooth.
- Add roasted and chopped macadamia nuts to the bowl and mix them into the chocolate batter.
- Immediately pour the batter into your chocolate bar molds, spreading it evenly. Tap the mold gently to release any air bubbles, then freeze for 2 hours before carefully de-molding your homemade vegan chocolate bars.
Notes
- Use room-temperature milk. Cold milk can cause the mixture to seize or turn grainy - let it come to room temperature before adding it to the batter.
- Avoid water and liquids at all costs. This is the #1 mistake people make with homemade chocolate. Even a tiny splash of water hitting your batter can cause it to seize - turning from smooth and glossy to dull, clumpy, and grainy almost instantly. Keep your workspace and tools completely dry while mixing.
- Work quickly once everything is combined. Vegan bars set fast, so pour the batter into the molds right after mixing to avoid it firming up in the bowl.
- Tap out any air bubbles. Gently tap the mold on the counter after pouring to release trapped air bubbles, giving your bars a smoother, more professional finish.
- Freeze until fully set before de-molding. Rushing this step can cause the vegan bars to crack or break apart when you try to remove them. Be patient.
- Roast the macadamia nuts first. This brings out a deeper, toastier flavor and adds extra crunch to your chocolate macadamia nut bars.
Leave a Reply