
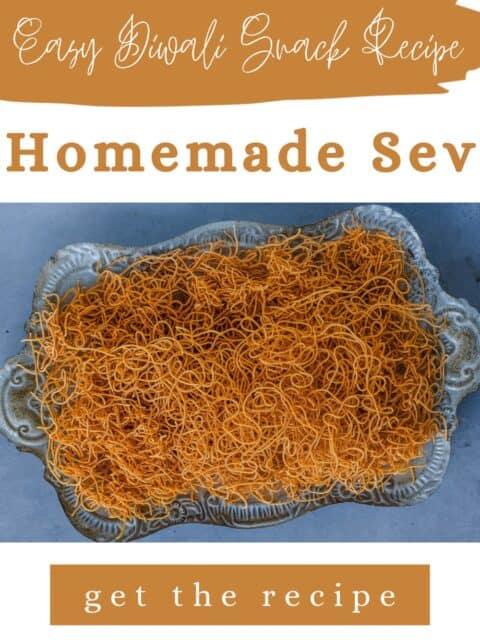
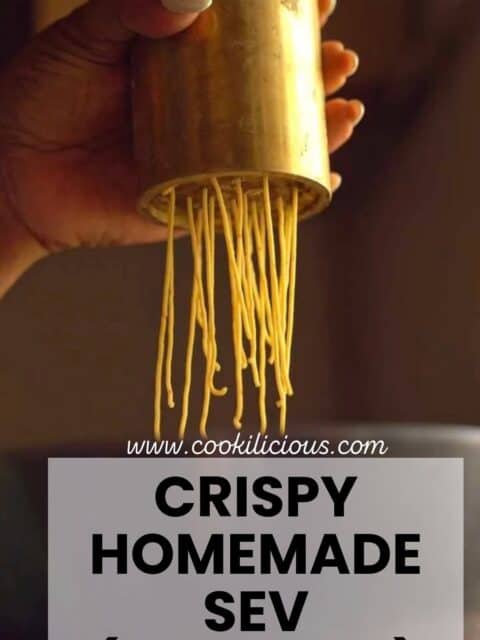
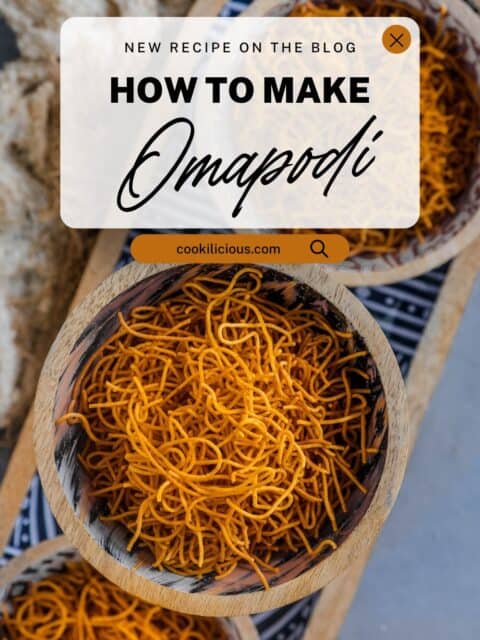
Like most people, I used to buy sev from the Indian grocery store, until my mother-in-law's visit changed my mind. She brought her special sev maker all the way from India and taught me every trick for her sev recipe: more rice flour than most recipes for extra crunch, and a little warm ghee for light, crispy sev. We made this omapodi recipe together several times until I nailed it.
Homemade sev is fresher, crunchier and preservative-free, and once you make it at home, store-bought brands like Haldiram's may just lose their appeal!
She makes a big batch every year for Diwali, and now it's a tradition in my home too. This family recipe is very close to my heart, and nothing would make her happier than knowing you're making it in your kitchen this Diwali. 🪔

🔍 Quick Look: Sev Recipe (Omapodi)
- 🌍 Cuisine: South Indian
- ⏱️ Prep Time: 10 minutes
- 🍳 Cook Time: 20 minutes
- 🕒 Total Time: 30 minutes
- 👥 Servings: 6 people
- 📊 Calories: ~ 288.11 kcal per serving (based on nutrition panel)
- 🔥 Cook Method: Fried
- 👩🍳 Flavor Profile: Crispy and crunchy
- ⭐ Difficulty: Moderate - easy once you get the hang of the sev maker
Jump to:
- 🔍 Quick Look: Sev Recipe (Omapodi)
- What Is Sev (Omapodi)
- Types of Sev (Nylon, Mota, Masala and More)
- Why make this
- 🧾 Ingredients Needed
- 🔪 How to Make This Sev Recipe at Home
- 🍽 Serving Suggestions
- 💭 Priya's Recipe Tips
- 📖 Sev Recipe FAQs
- More Diwali Faral Recipes
- Recipe 📖
- Sev Recipe (Omapodi) - Crispy Homemade Besan Sev
What Is Sev (Omapodi)
Sev is a crispy Indian fried snack made from chickpea flour (besan) dough that's pressed through a sev maker into hot oil, forming thin, crunchy strands, almost like gram flour fried noodles. It's one of India's most loved tea-time snacks and a classic chaat topping.
In Tamil Nadu, this Indian sev is called omapodi: "omam" means ajwain (carom seeds), which gives it a warm, earthy aroma, and "podi" means small pieces. In Andhra Pradesh, it's known as karapusa.
This classic crispy sev, along with Thattai and Kara Boondi, is made in almost every South Indian home during Diwali. When stored properly, it stays fresh for up to 2 weeks, so it's an ideal make-ahead Diwali snack for celebrations and gifting.
Types of Sev (Nylon, Mota, Masala and More)
Most types of sev share the same base, besan (chickpea flour), and all of them are deep-fried. What sets them apart is the thickness of the strands, which comes from the sev maker attachment used, and the spices that flavor the dough. Here are some popular ones:
- Nylon sev (thin sev): the finest, most delicate strands, used as a chaat topping on Bhel Puri, sev puri, Dabeli, Dal Pakwan Tostadas and Ragda Pattice.
- Plain sev: simple besan sev with just salt and a pinch of spice, the everyday favorite.
- Omapodi: the South Indian version flavored with ajwain, and the one I'm sharing today.
- Kara sev: a thicker, coarser South Indian sev, often flavored with black pepper or garlic and pressed through a special karasev ladle. It's another Tamil Diwali favorite, alongside omapodi.
- Mota sev: thick, hearty strands, great for Misal Pav and snack mixes like Chivda.
- Masala sev / tikhi sev: spiced with red chili for an extra kick.
- Ratlami sev: from Ratlam in Madhya Pradesh, known for its bold, clove-and-pepper flavor.
- Bhujia: a close cousin of sev. Both are crunchy, deep-fried besan snacks, but sev is usually plain besan in different thicknesses, while bhujia is typically spicier and mixes in other ingredients. Aloo bhujia adds mashed potato to the dough, and Bikaneri bhujia adds moth bean flour.
- Flavored sev: palak (spinach) sev, lasooni (garlic) sev, tomato sev and lemon sev.
You'll also find sev made with whole wheat flour, or with millet flours like jowar, ragi and rajgira, for different textures and diets. Whatever the type, sev adds crunch and flavor to countless Indian dishes, and it's a staple of every Indian snack platter and farsan box.
Why make this
- 🪔 Classic Diwali snack: this sev recipe makes authentic South Indian omapodi, an easy Diwali snack recipe and a must on every farsan platter.
- ⏱️ Quick and easy: ready in about 30 minutes with simple pantry staples like besan, rice flour and ajwain, and one batch serves 6.
- 🌾 Extra crispy, no baking soda: my mother-in-law's trick of more rice flour and a little warm ghee gives this crispy besan sev its crunch, without any baking soda.
- 🏠 Better than store-bought: homemade sev is fresh, with no preservatives or artificial colors.
- 🌶️ Adjustable spice: keep it mild for kids, or add more chili for a spicier Indian fried snack.
- 🔧 Works with any press: use a sev maker, murukku press or idiyappam press with a fine-hole plate.
- 🌱 Vegan and gluten-free: also soy-free and nut-free. For gluten-free, use a gluten-free hing.
- ☕ Perfect tea-time snack: enjoy it with masala chai, or use it as a chaat topping on bhel puri and sev puri.
- 🎁 Make-ahead and giftable: stays crisp for up to 2 weeks in an airtight jar, so it's ideal for Diwali gift boxes.
🧾 Ingredients Needed

Chickpea flour (besan): the base of every besan sev. Use fresh, finely ground besan, and sieve it before mixing. Old or coarse flour can taste bitter and clog the fine holes of your sev maker. If you love besan snacks, try my Fried Potato Fritters, Bombay Chutney, Gujarati Kadhi, or vada pav recipe.
Rice flour: this is my mother-in-law's secret to extra-crispy sev. Most recipes use just a little, but she uses a full cup for every 2 cups of besan, so there's no need for baking soda. Use store-bought, finely milled rice flour, not coarse or homemade.
Got leftover rice flour? Use it in my Crispy Thattai, Ammini Kozhukattai, Methi Ghavan or Onion Rava Dosa.
Ajwain (omam, or carom seeds): this is what makes omapodi different from plain sev. It adds a warm, slightly peppery aroma and helps digestion. We soak it in warm water and use only the strained water, so the seeds don't block the press.
My mother-in-law also dissolves the salt in this ajwain water, so it spreads evenly through the dough. Don't add more ajwain than the recipe says, because too much can make sev bitter. No ajwain? Cumin seeds work too, with a slightly different flavor.
Don't throw away the soaked seeds! Stir them into dals or curries, or into the batter for my Moong Dal Chilla or Tomato Omelet.
Warm ghee: another of her tips. A spoonful of warm ghee (I use vegan ghee) kneaded into the dough keeps the sev light and crunchy. Vegetable oil works too.
Spices: red chili powder adds color and gentle heat. Use Kashmiri chili powder for a brighter color with less spice, or more chili for spicy masala sev. Asafoetida (hing) adds savory depth. For gluten-free sev, use a gluten-free hing, since most brands contain wheat flour.
Oil for frying: use a neutral oil with a high smoke point, like peanut, sunflower or canola. You'll need enough for deep-frying, about 2 inches deep in your pan.
Equipment: you'll need a sev maker (also called an idiyappam press or murukku press) with the small, fine-hole plate, plus a deep, heavy-bottomed frying pan or kadai. A two-handled press is easier to use than a gun-style one.
🔪 How to Make This Sev Recipe at Home
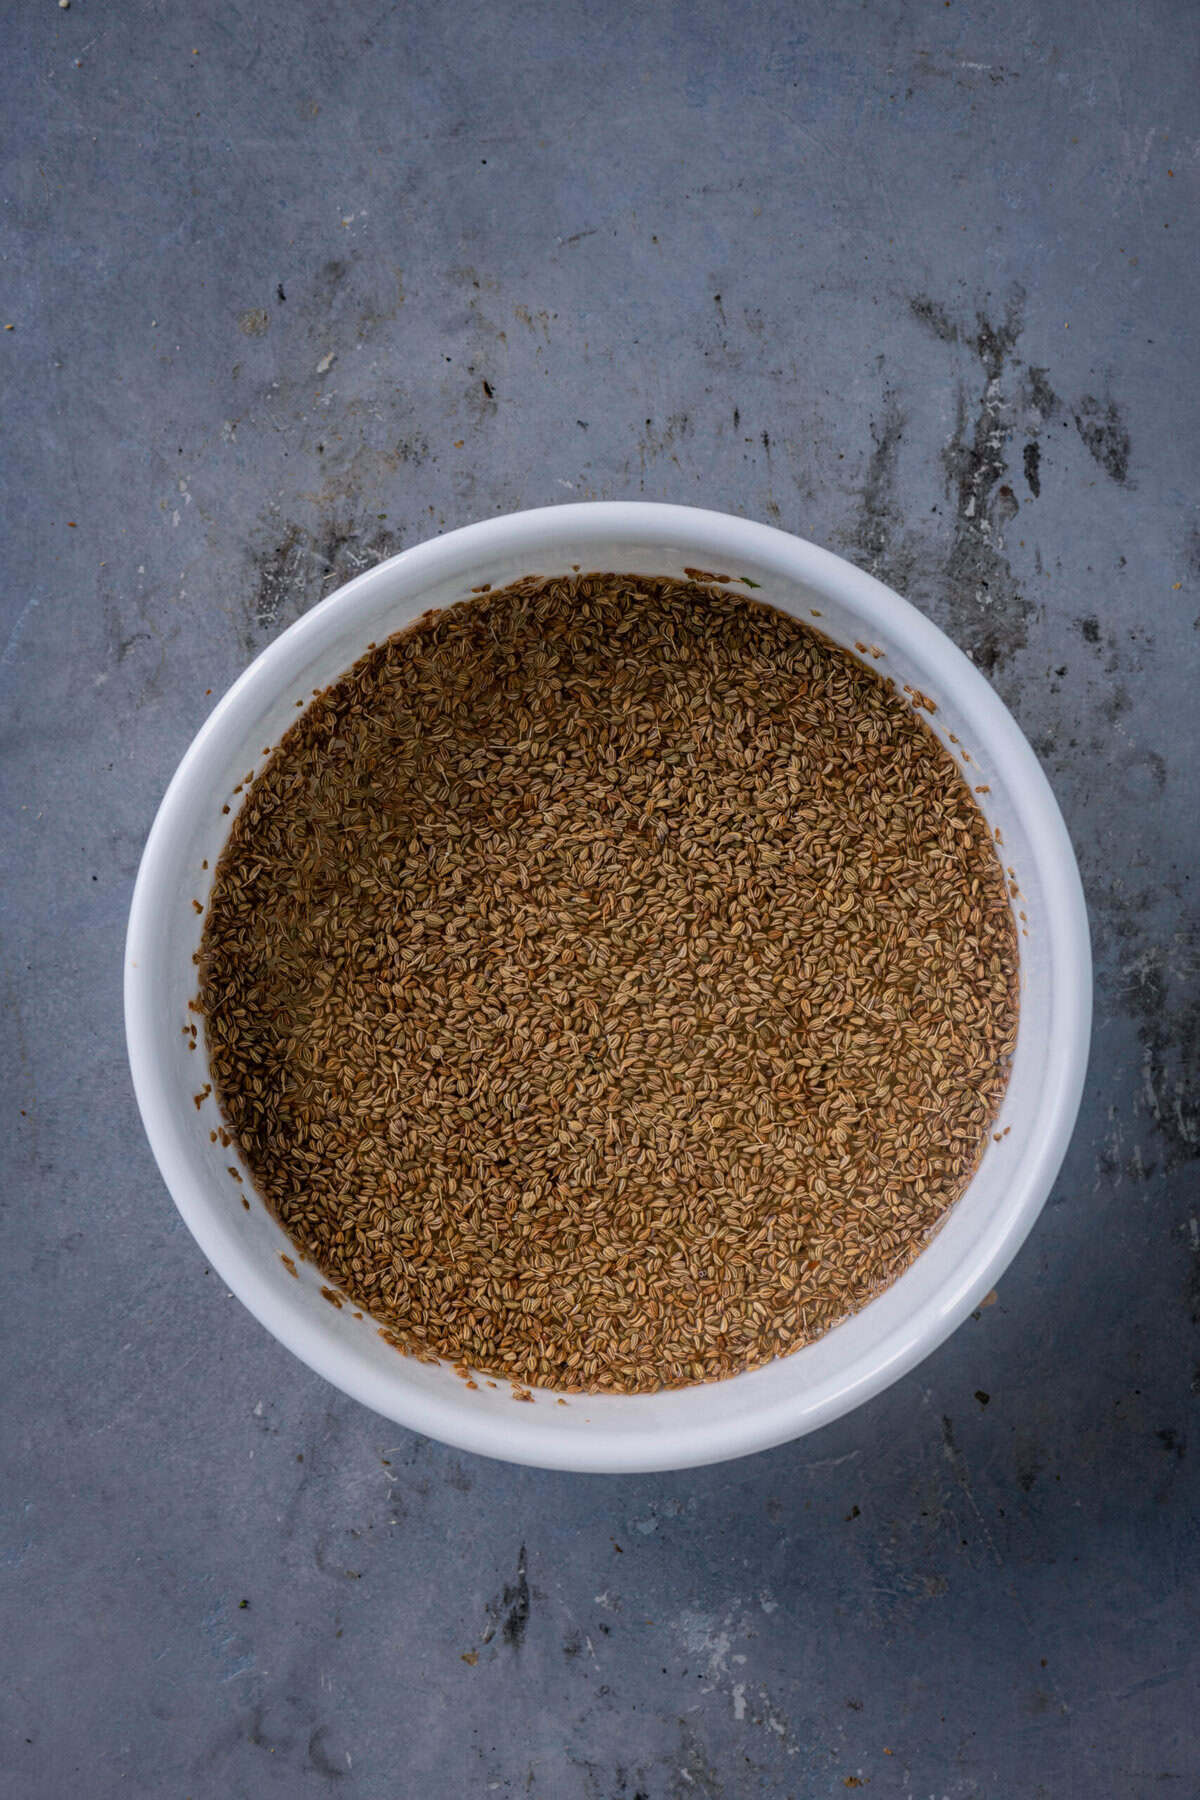
- Step 1: 🥣 To Make Omam Water Soak the ajwain. In a small bowl, soak the ajwain (omam, or carom seeds) in warm water for 10 minutes to release its aroma.
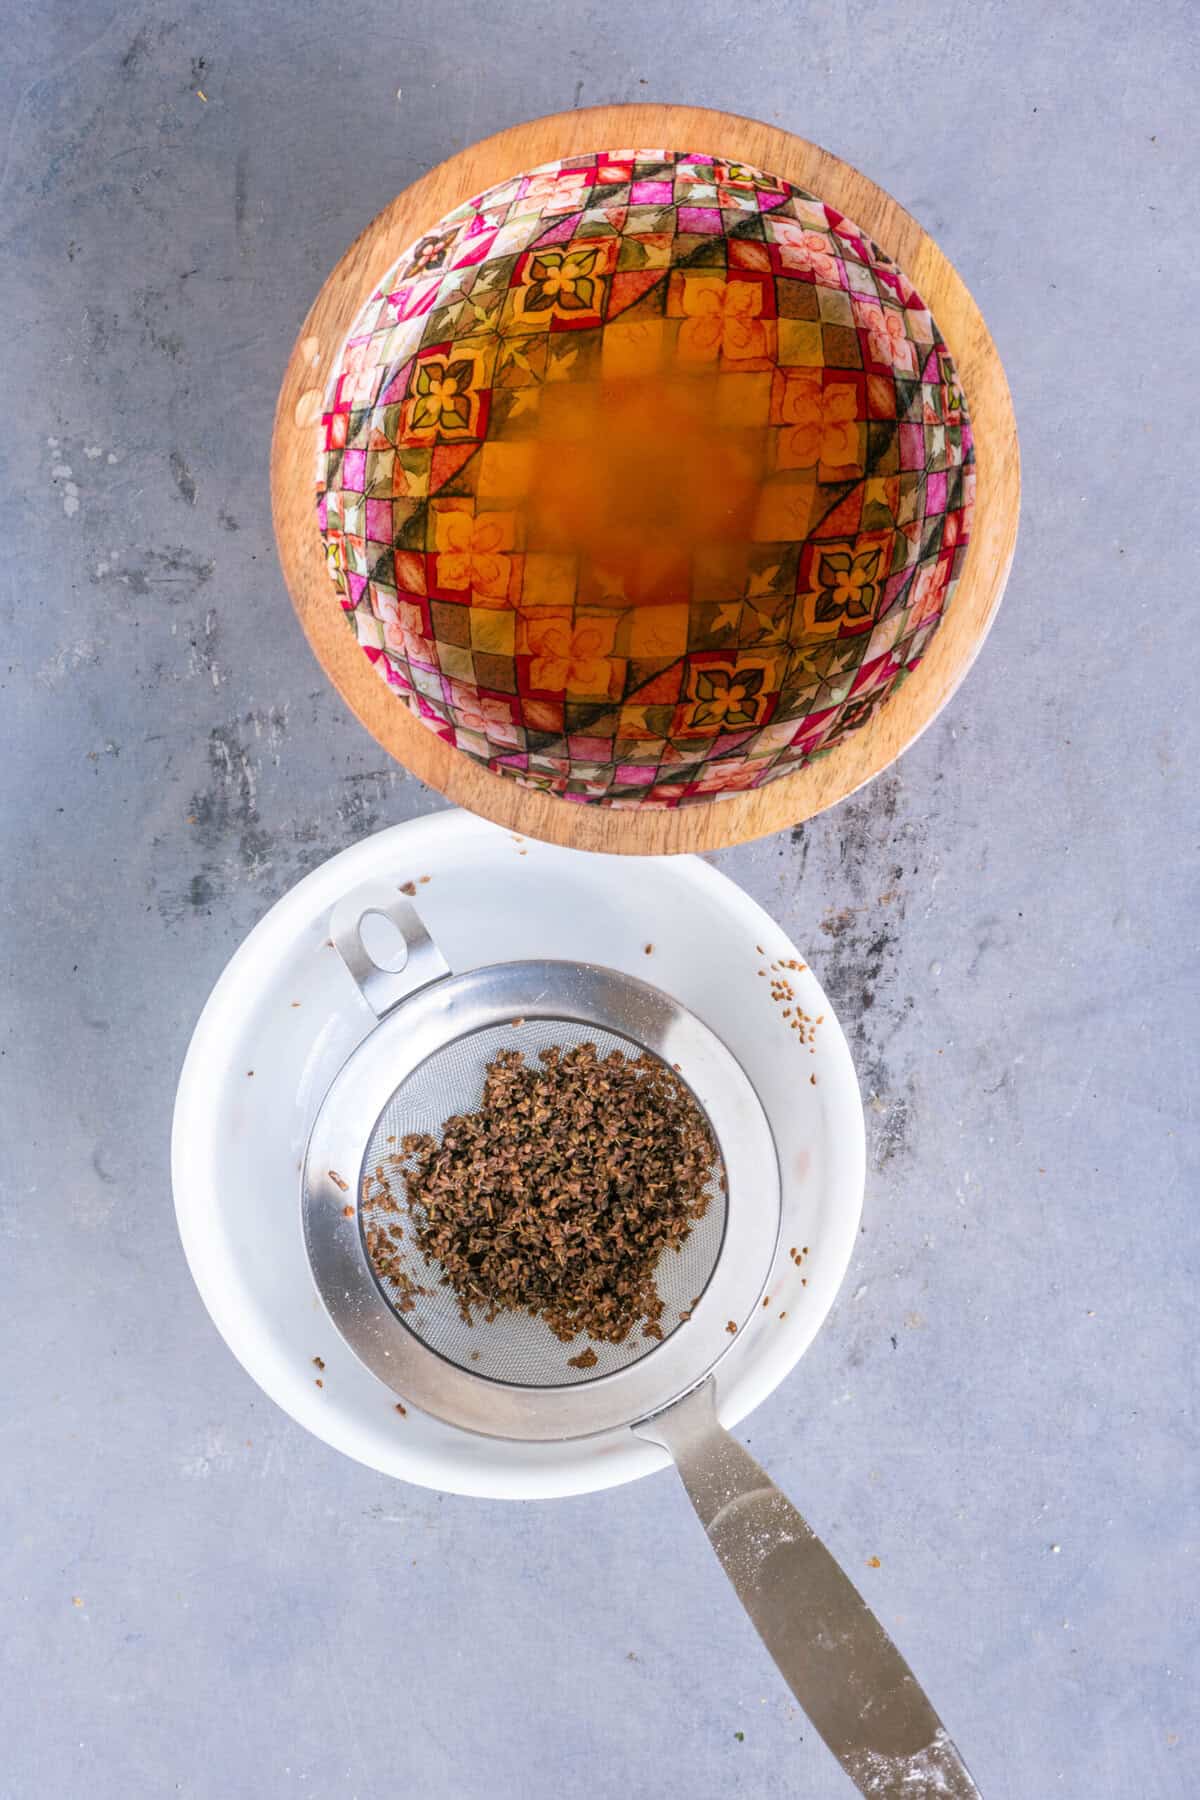
- Step 2: Strain and season. Strain the water into a bowl and stir in the salt. This ajwain-infused water gives omapodi its signature flavor. My mother-in-law's tip: dissolving the salt in the water spreads it evenly through the dough. Don't throw away the soaked seeds! Add them to dals and curries for a mild, aromatic touch.
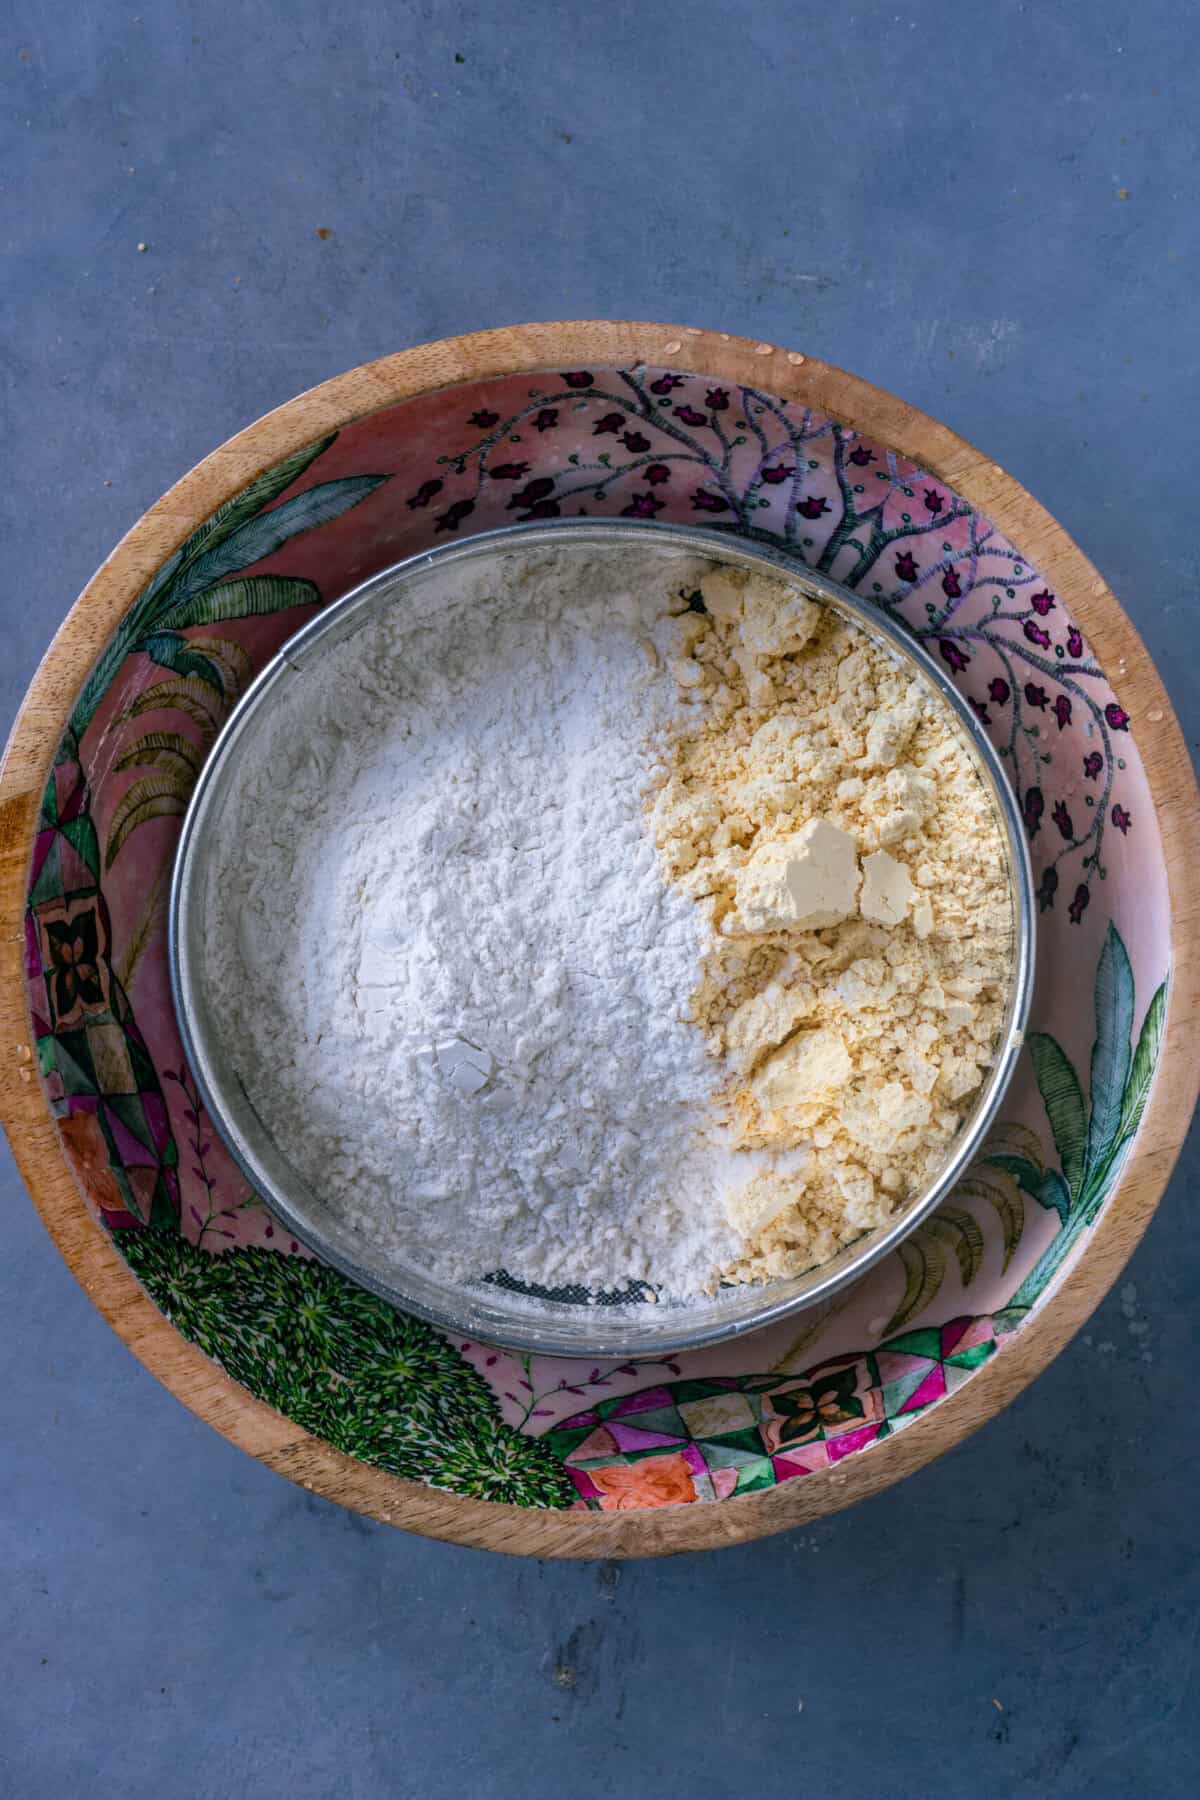
- Step 3: To Prepare the Sev. In a large mixing bowl, combine the sieved chickpea flour (besan) and rice flour. Priya's tip: Sieving removes lumps, so the dough passes smoothly through the sev maker.
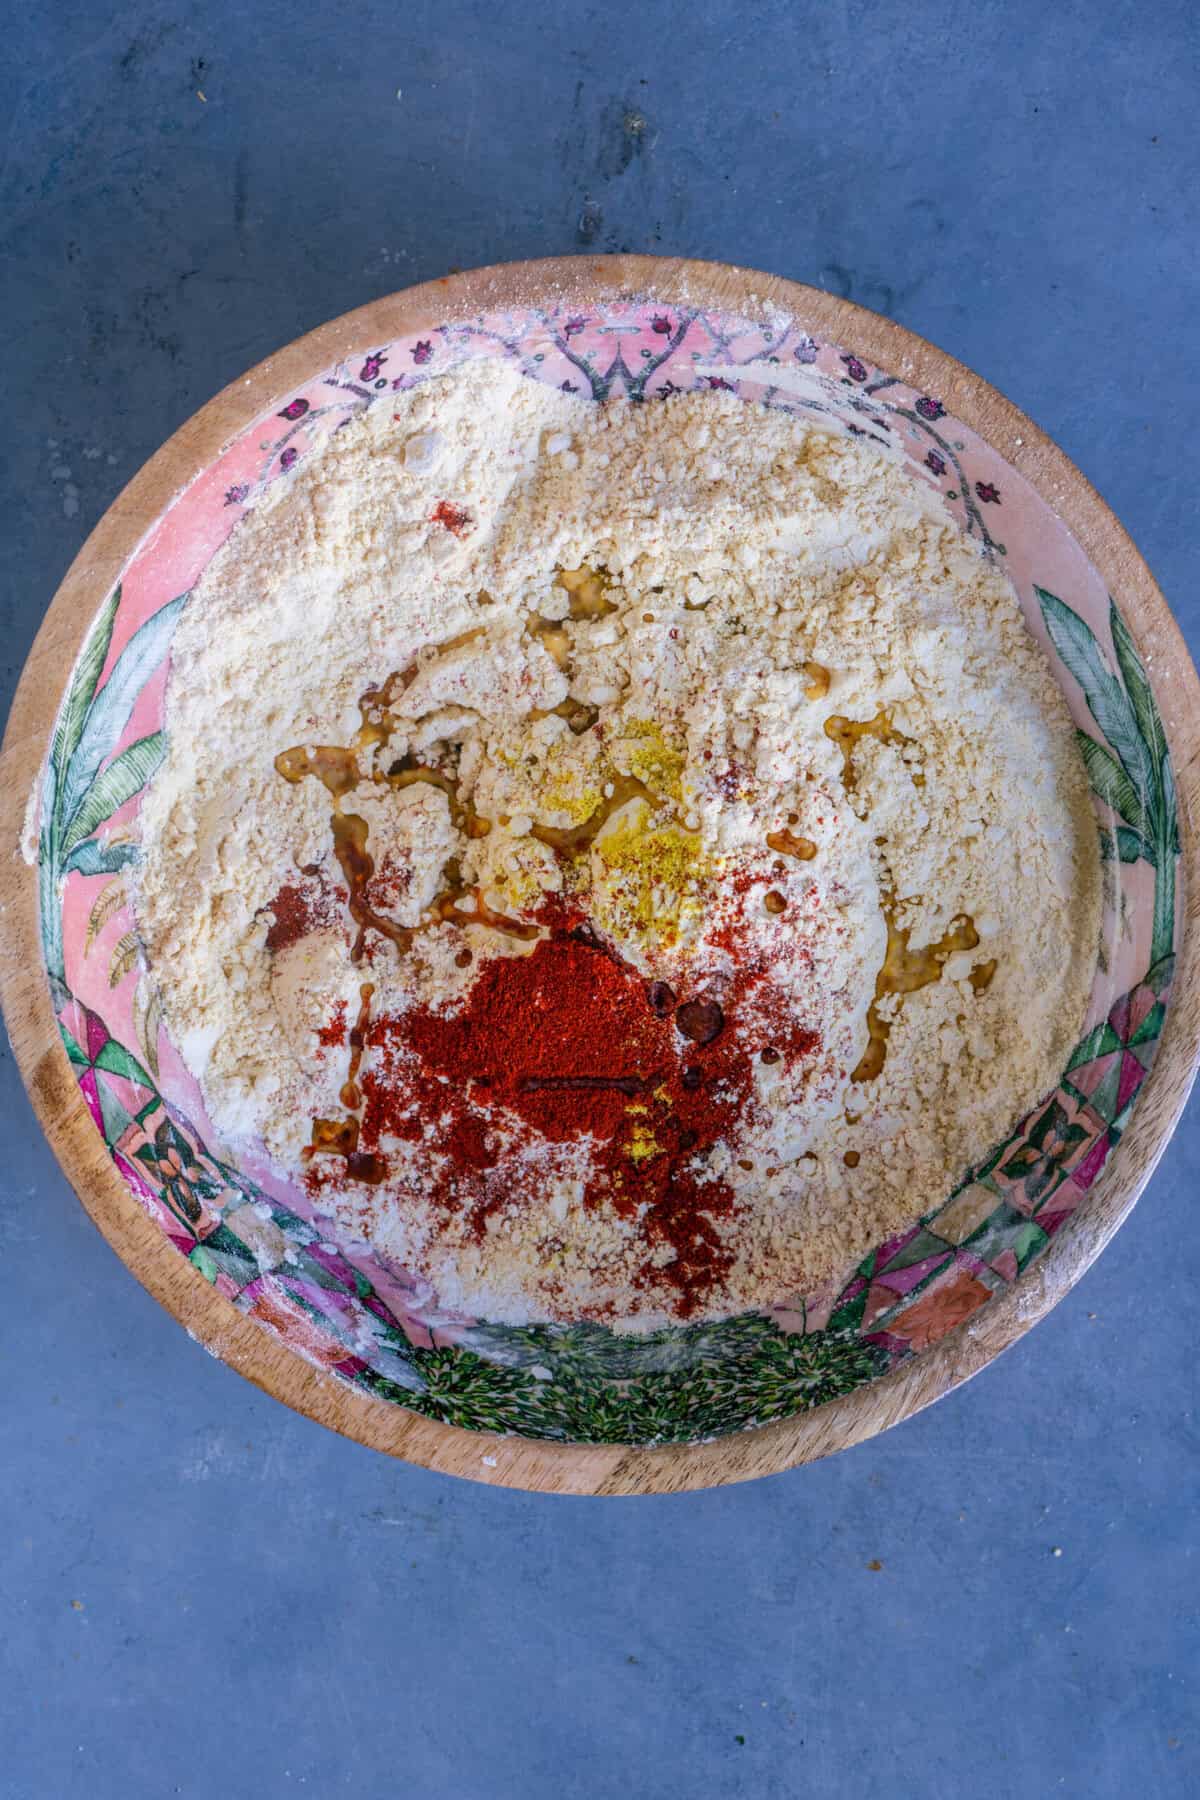
- Step 4: Add the spices and ghee. Add the red chili powder, asafoetida and warm vegan ghee, and rub them into the flour with your fingertips. My mother-in-law's tip: the warm ghee keeps the homemade sev light and crispy.
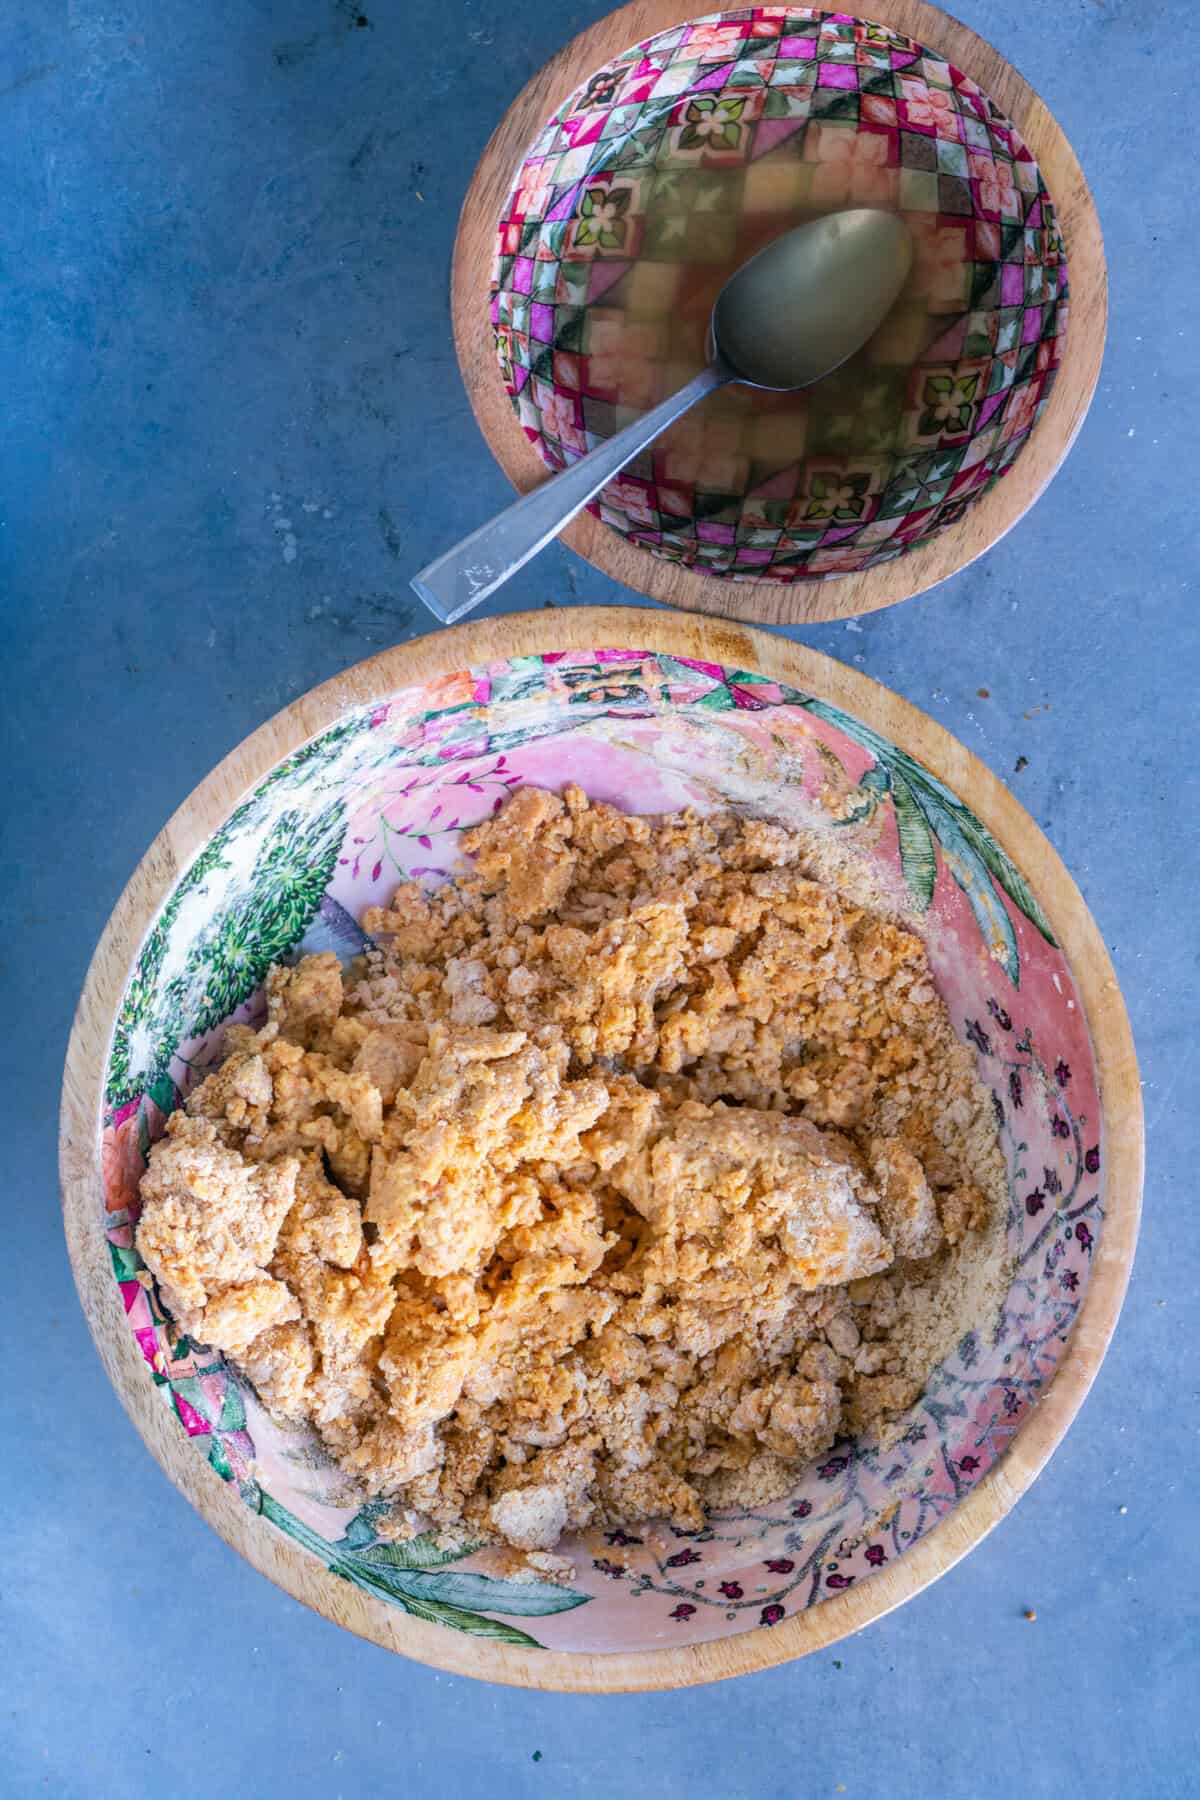
- Step 5: Knead the sev dough. Gradually pour in the salted omam water, kneading as you go, until you have a smooth, soft, non-sticky dough. If it feels sticky, add a spoonful of besan. If it's dry or cracking, sprinkle in a little water.
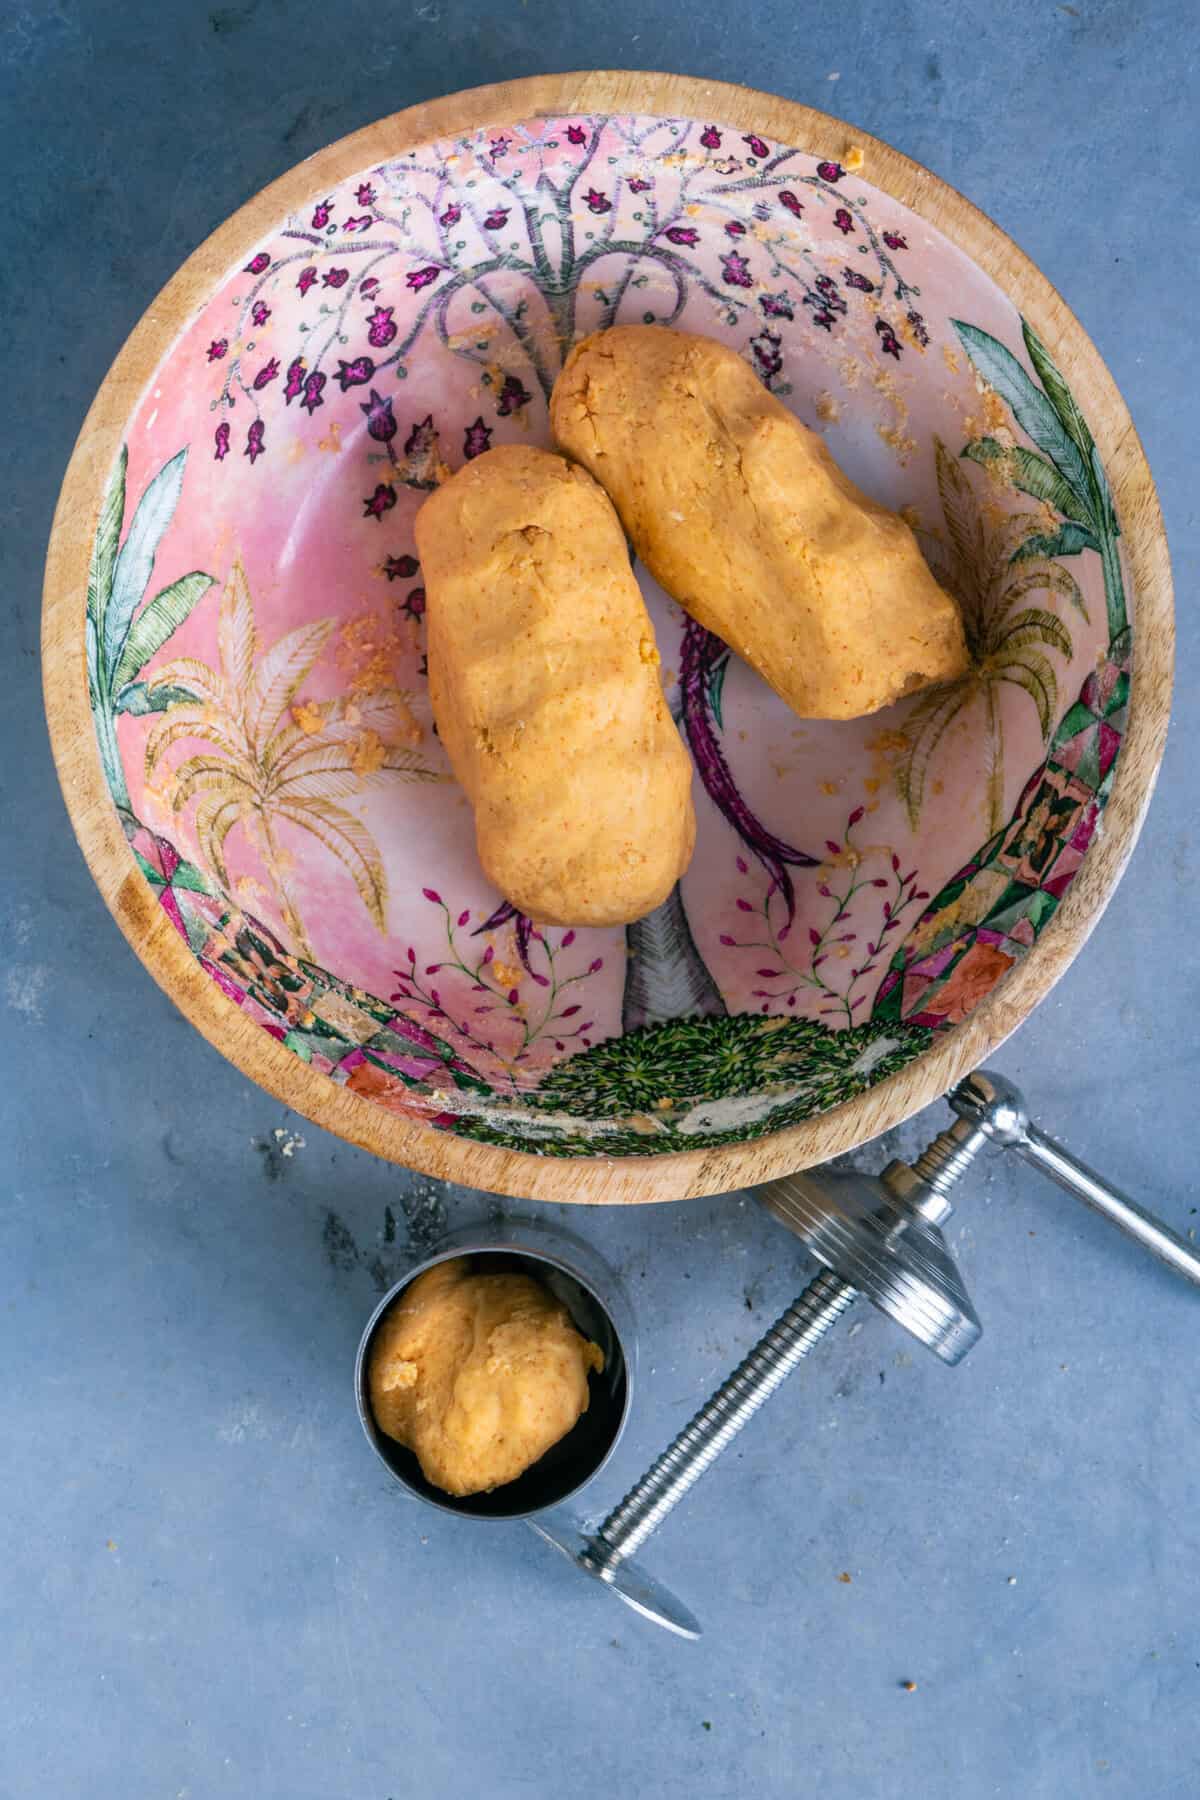
- Step 6: Fill the sev maker. Fit your sev maker (idiyappam or murukku press) with the small, fine-hole plate, and grease the inside with oil. Shape a portion of the dough into a cylinder and place it in the press. My mother-in-law's tip: cover the rest of the dough with a damp cloth so it doesn't dry out.
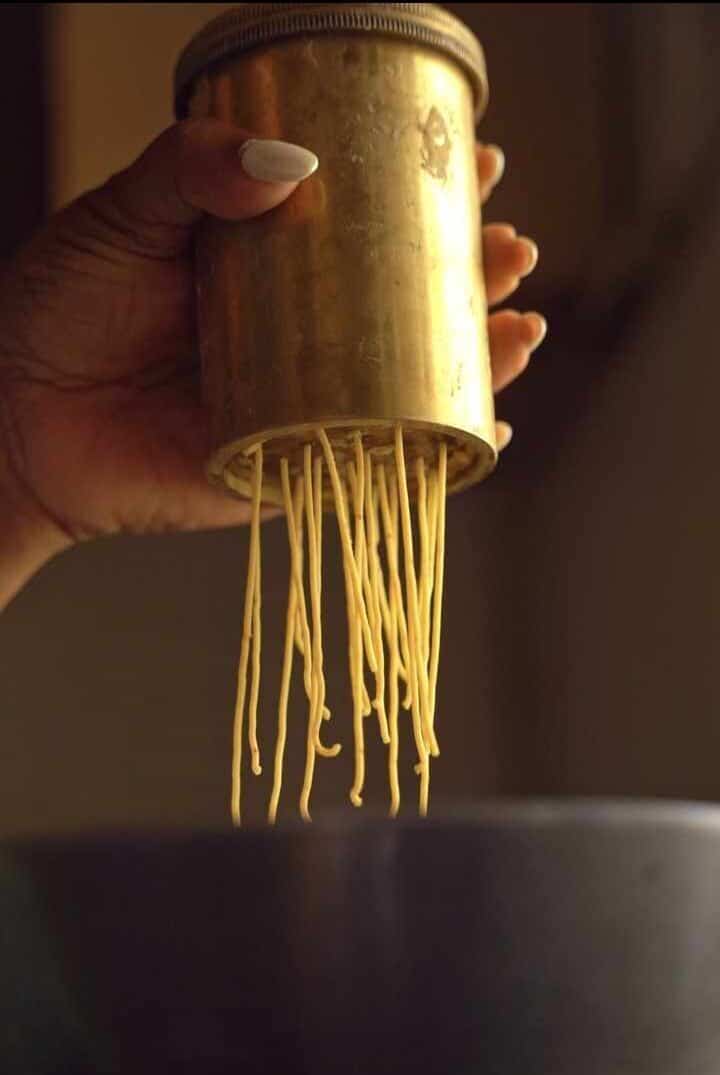
- Step 7: Heat the oil, then press and fry. Heat oil in a deep kadai or frying pan over medium-high heat, then lower it to medium. To test, drop in a small piece of dough. If it rises steadily to the top, the oil is ready. Hold the sev maker just above the oil and press the dough out in a circular motion to form a large round of omapodi.
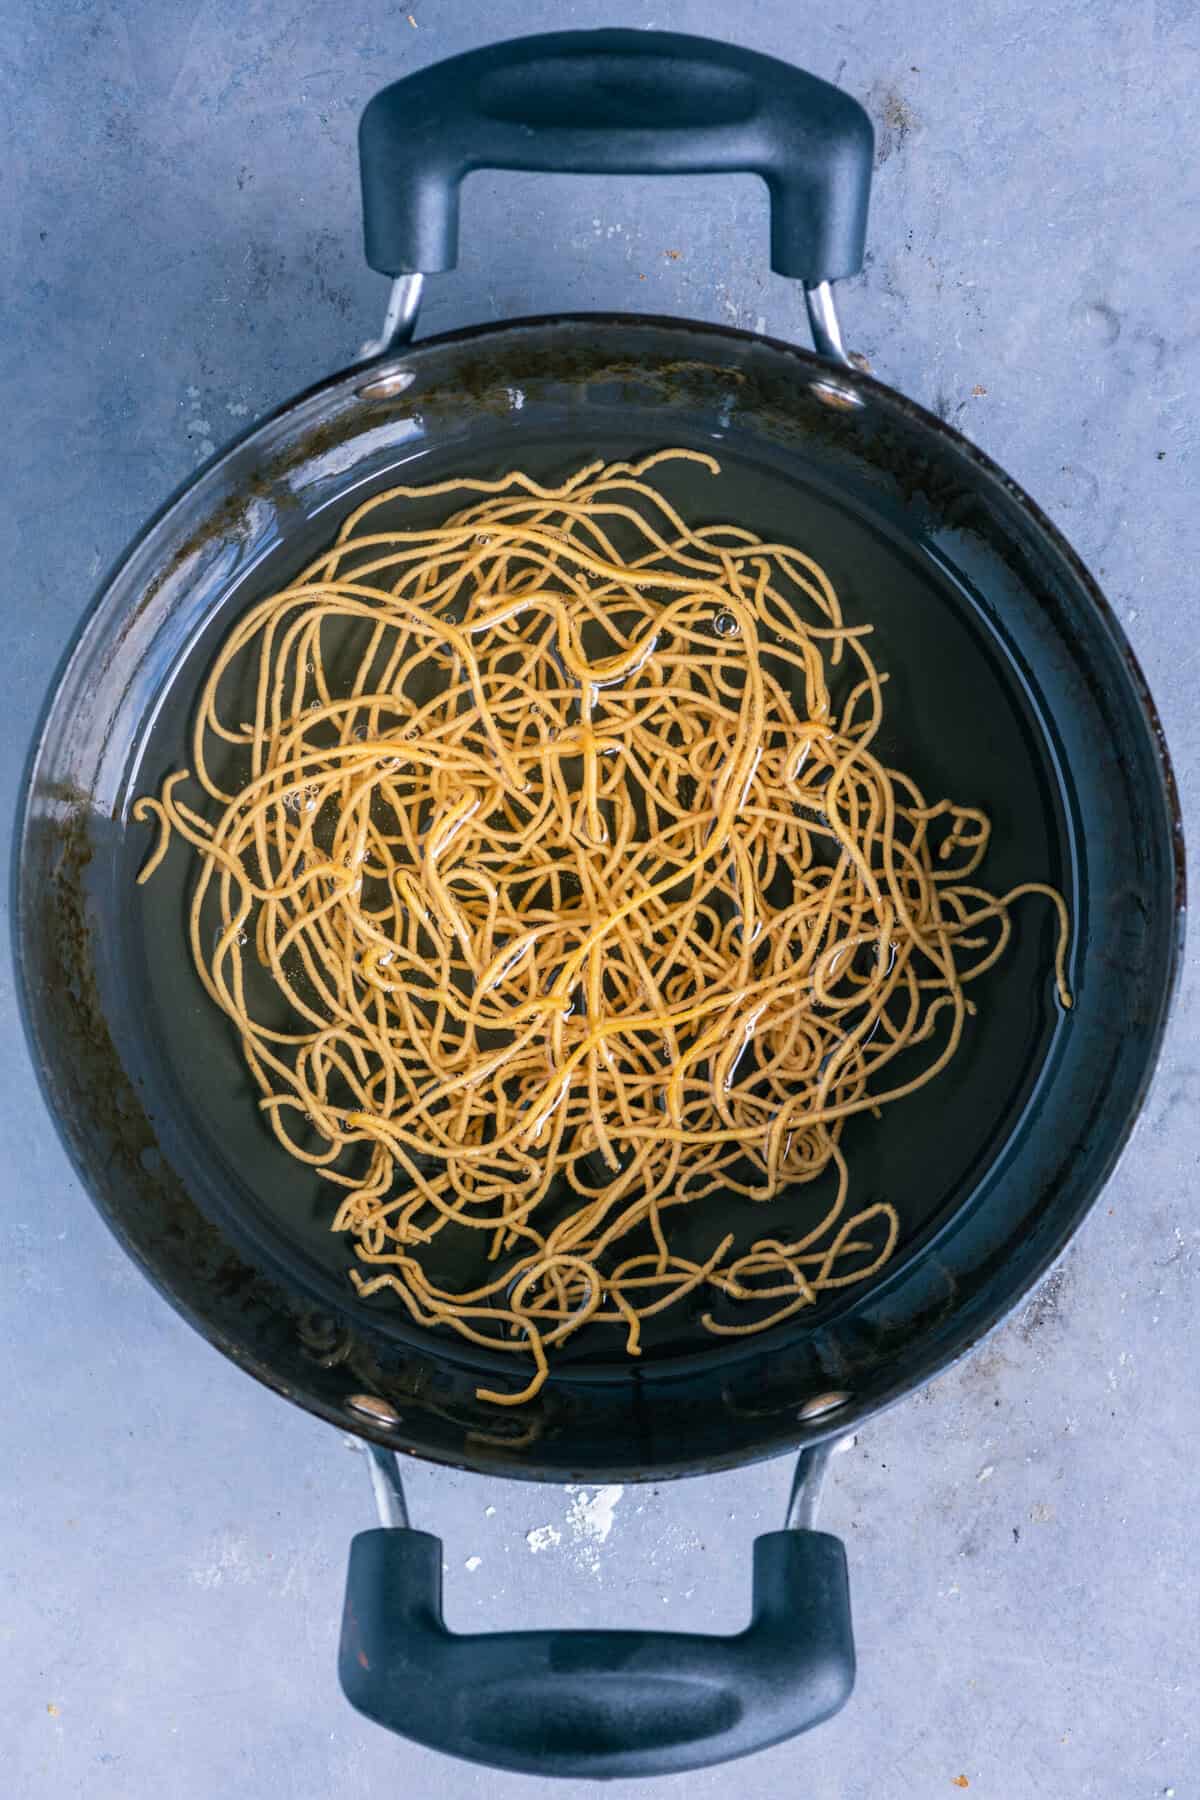
- Step 8: Fry one round at a time, and don't overcrowd the pan, so the oil stays hot and the sev cooks evenly.
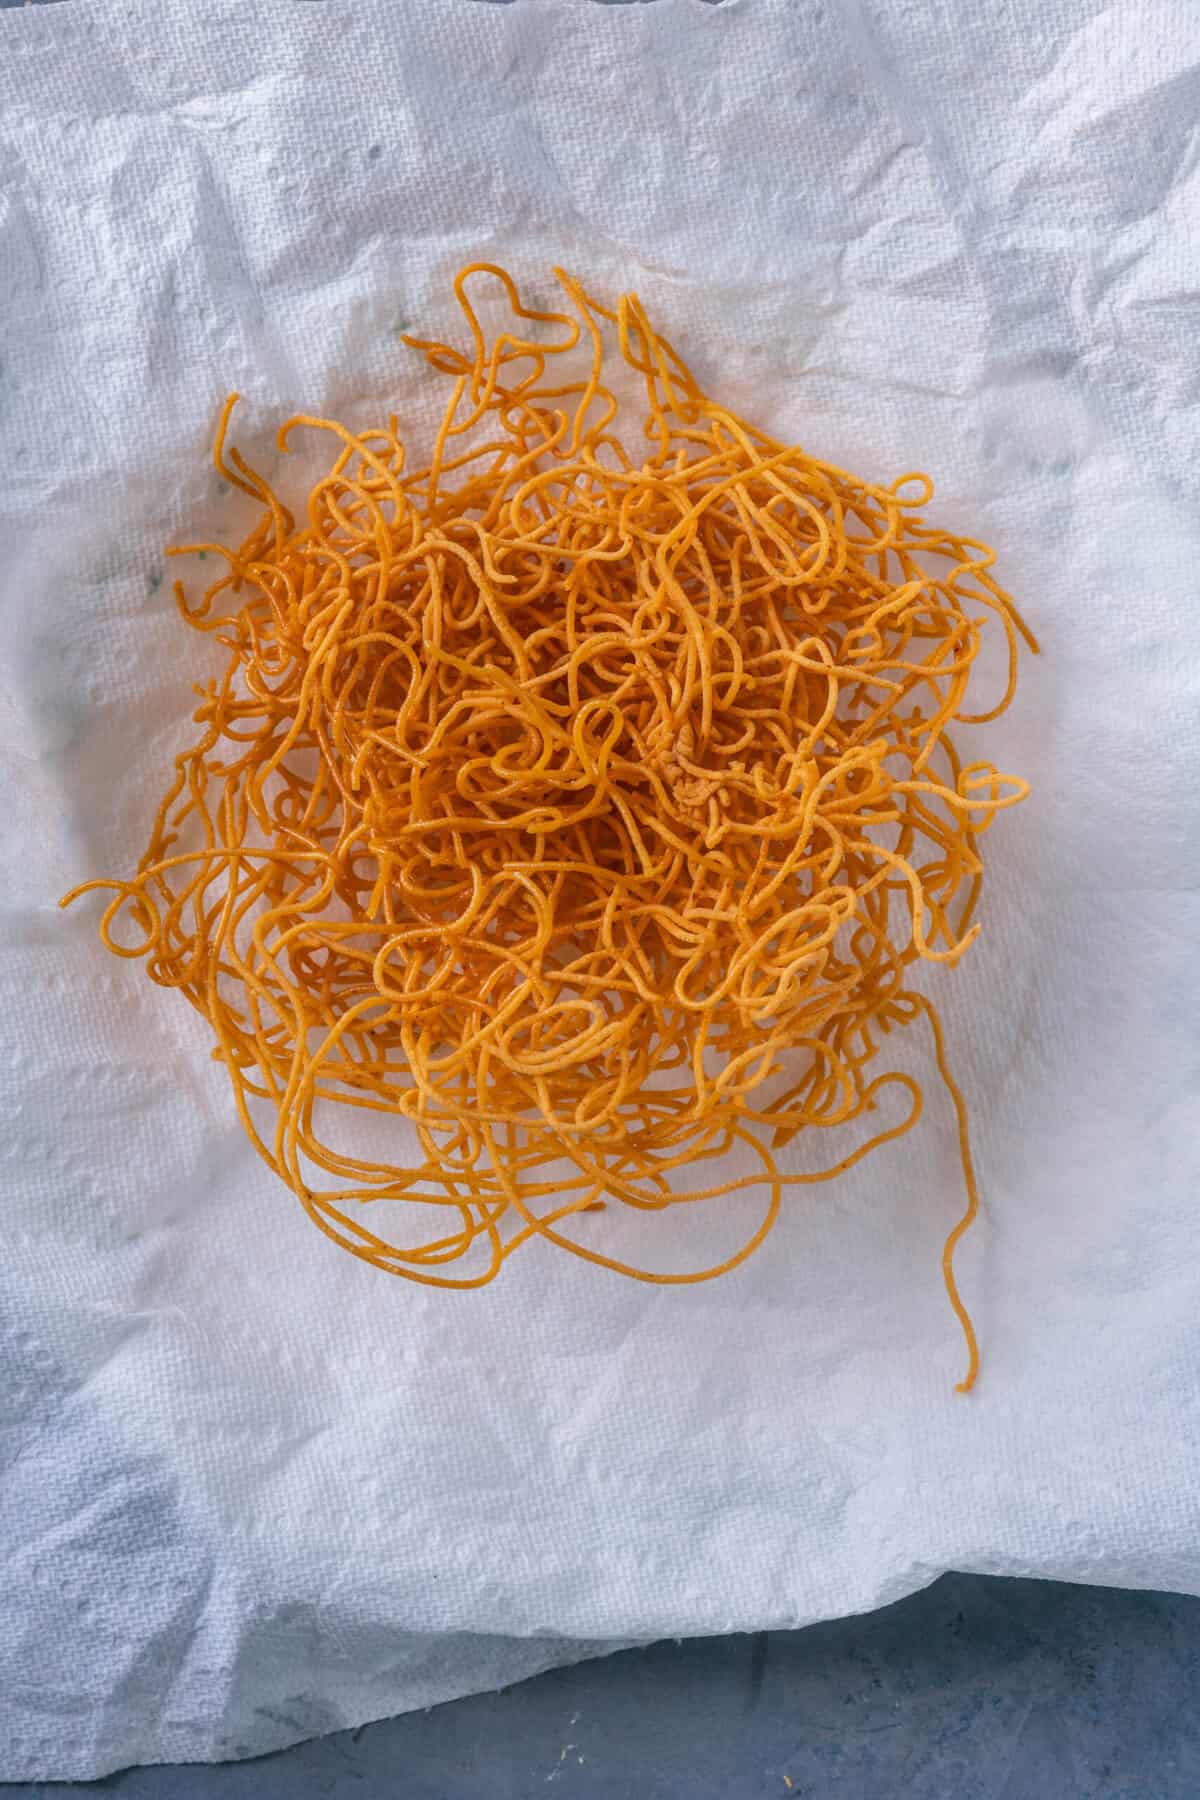
- Step 9: Fry, drain and repeat. Fry the sev until the sizzling and bubbles slow down, then gently flip it to fry the other side. Take it out while it's still light golden, since overcooked sev turns dark and bitter. Lift it out with a slotted spoon and drain it on paper towels. Repeat with the rest of the dough. Priya's tip: handle the sev gently so the strands don't break. It will feel slightly soft at first but turns crispier as it cools.
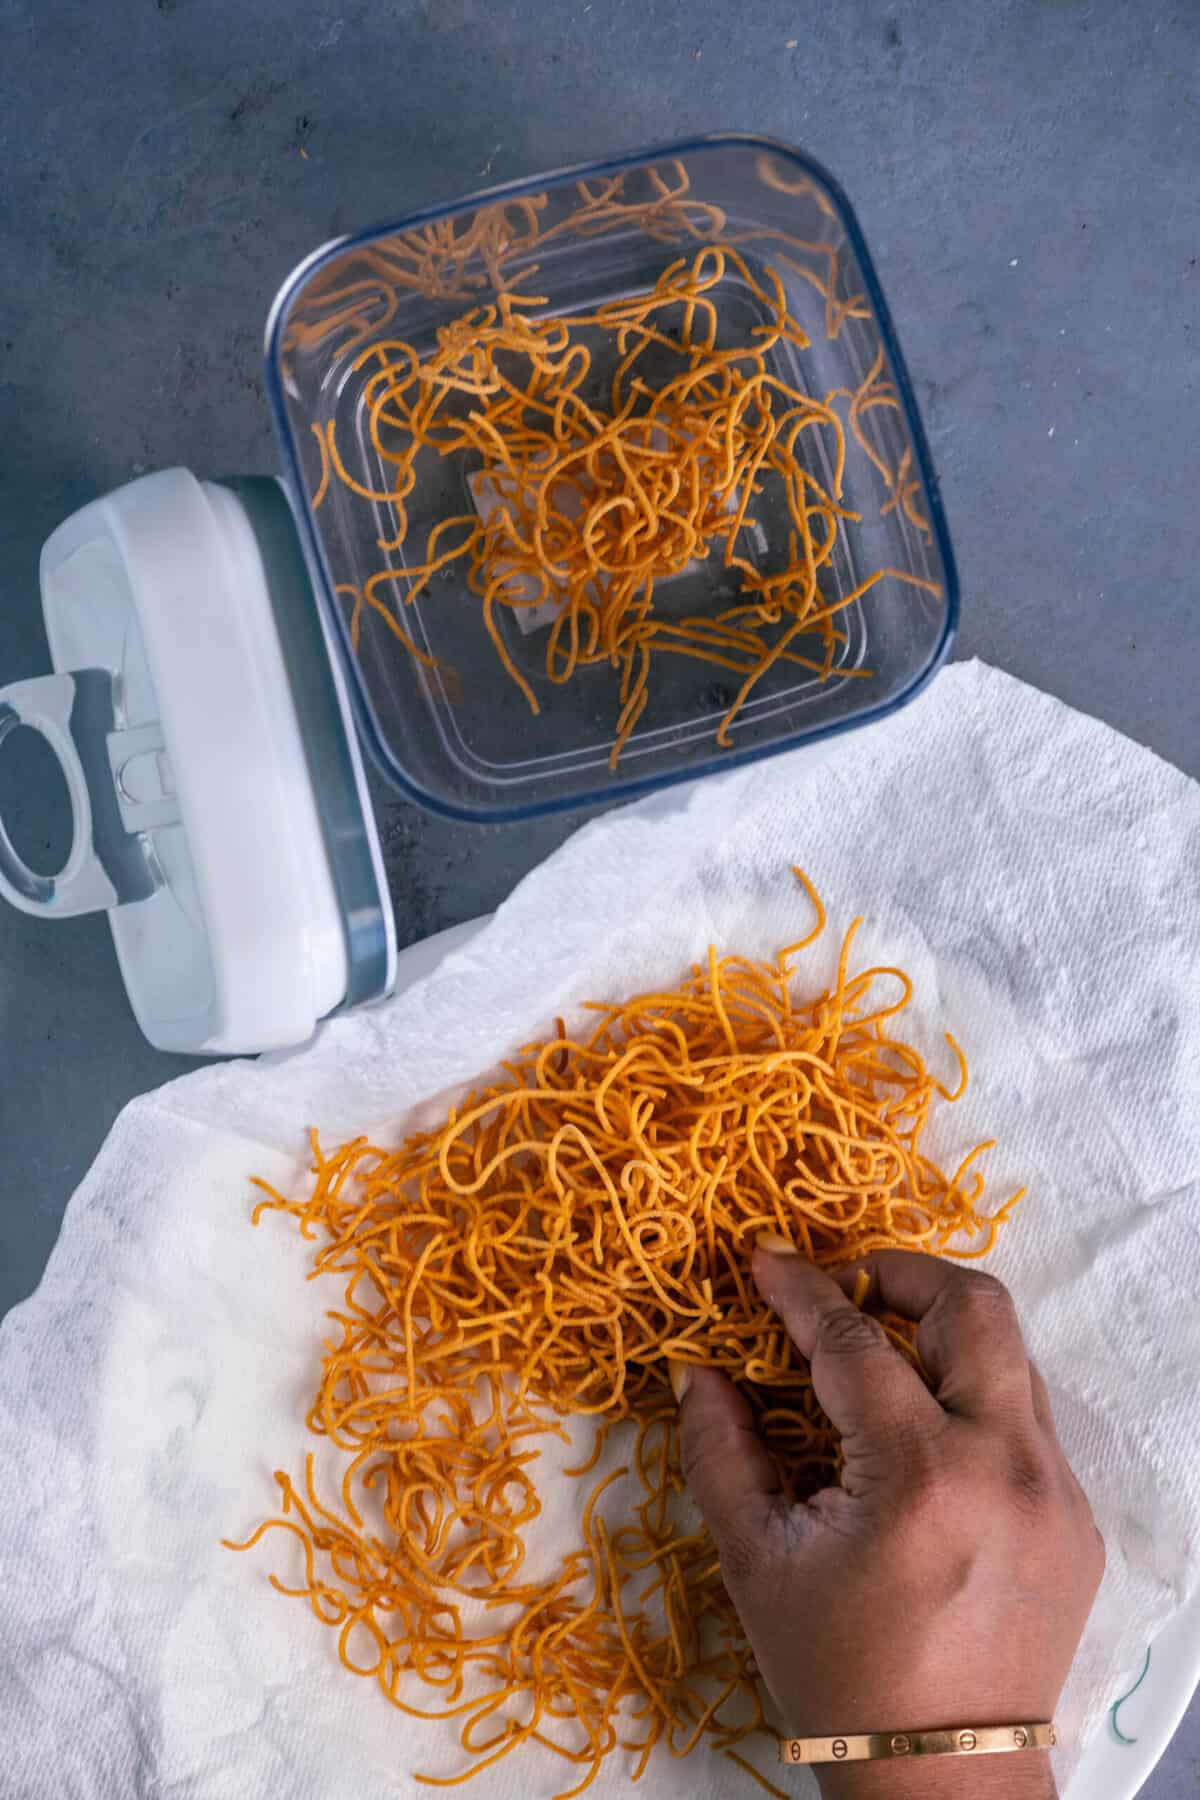
- Step 10: Cool and store. Let the sev cool completely, then break it into pieces or leave it in rounds. Store your crispy sev in an airtight container. ✨ Priya's tip: don't break the sev into very small pieces. Larger pieces stay crunchy longer and look better on a snack platter.

Want to save this recipe?
🍽 Serving Suggestions
This homemade sev recipe makes one of the most versatile Indian snacks. Enjoy it straight from the jar with a hot cup of masala chai or Madras filter coffee ☕, or munch on it as a late-night snack. Because it stays crisp for up to 2 weeks, it also makes a thoughtful homemade Diwali or Thanksgiving gift. 🎁
- As a chaat topping: sprinkle it generously over Bhel Puri, Samosa Chaat, Dahi Vada, Ragda Patties, Dabeli Pizza, or Chinese Bhel for that classic crunch.
- On breakfast and street food: top Kanda Poha, Tomato Rava Upma, Misal Pav or an Aloo Sandwich with a handful of sev.
- With curries and kadhi: it's a classic pairing with Sindhi Kadhi. In Gujarat and Madhya Pradesh, sev is even the star of curries like sev tameta nu shaak (sev-tomato curry) and sev usal.
- Over rice dishes: sprinkle it on Lemon Rice, Curd Rice, Tomato Rice or Fodnicha Bhat for extra texture and crunch.
- In a snack mix: toss it with Kara Boondi, fried nuts and puffed rice for a homemade South Indian mixture, or add it to Chivda. You can also mix it with puffed rice, onion and lemon for a quick sev mamra.
- On a namkeen charcuterie board: build a festive savory board with bowls of sev, Kara Boondi, Chivda, Thattai, Cilantro Mathri, Roasted Moong Dal and Spicy Roasted Almonds. It's just like my Indian Dessert Charcuterie Board (Mithai Board), but with namkeen instead of sweets. It makes a perfect Diwali party platter! 🪔
Whether you serve it on its own or sprinkle it over your favorite dishes, this crispy sev adds crunch and flavor to any meal! Planning your festive menu? Find more sweets, snacks and fusion party food in my 50 Best Diwali Recipes. 🪔
Pro Serving Tip:
For a South Indian-style mixture, make a quick tempering of mustard seeds and curry leaves in a little oil, pour it over the omapodi and toss well. This gives this fried Indian snack an additional layer of flavor. Try it!
💭 Priya's Recipe Tips

- Pick your thickness: use the small fine-hole plate for thin sev, or a larger plate for thicker mota sev.
- Make the dough fresh: knead it just before frying. Leftover sev dough doesn't refrigerate well, so fry it all in one go.
- Press a single, even layer: don't pile the dough in one spot while pressing. A thin, even round fries quickly and evenly, all the way through.
- Clean the sev maker right away: soak the press and plate in warm water as soon as you're done. Dried besan dough is much harder to scrub out of the tiny holes.
📖 Sev Recipe FAQs
There are three easy ways to add ajwain flavor to omapodi:
Soak and strain: soak ajwain (carom seeds) in warm water for 10 minutes, strain it, and knead the dough with this water. This is the method I use in this sev recipe.
Roast and grind: dry-roast the ajwain, grind it to a very fine powder and sieve it. Then add the powder straight to the flour and knead with plain water. It has to be finely ground so it doesn't clog the sev maker.
Powder and soak: soak the ground ajwain in ½ cup warm water, strain it, and use the strained water to knead the dough.
For plain sev, simply skip the ajwain.
The perfect sev dough is soft but firm. If yours isn't behaving, here's how to fix it:
Too stiff to press: sprinkle in a little water and knead again until it passes easily through the sev maker.
Too soft: the sev will soak up extra oil while frying. Knead in a spoonful of besan.
Strands break or dissolve in the oil: the dough has too much fat or water. Add a little more flour and knead again.
Holes keep clogging: coarse or unsieved flour can block the fine plate, so always sieve your besan and rice flour. If the plate does clog, use a pin to clear the holes, then start again.
Homemade sev turns soft or oily for three main reasons: the dough is too soft (too much water), the oil isn't hot enough, or the sev comes out of the oil too early. Knead a soft but firm dough, fry until the bubbles slow down, and let the sev cool completely before storing it airtight.
Getting the oil temperature right matters most. Drop a small piece of dough into the oil:
Rises steadily to the top: the oil is ready.
Shoots up instantly: the oil is too hot, so lower the flame. Very hot oil browns omapodi outside before it cooks through.
Sinks and stays at the bottom: the oil isn't hot enough yet, so wait a little longer.
No sev maker? You can still make homemade sev. A potato ricer with small holes works well: fill it with dough and press it straight into the hot oil. You can also use a sturdy piping bag with a small hole snipped in one corner, though the strands will be a little thicker (like a jalebi). Keep the dough slightly softer than usual so it presses out easily.
Let the sev cool completely, then store it in a clean, dry, airtight container at room temperature, on the counter or in the pantry. There's no need to refrigerate it. Always use clean, dry hands or a dry spoon to take it out, and keep it away from moisture, since even a little dampness makes it soft. Stored this way, homemade sev stays fresh and crisp for up to 2 weeks, which makes it a great make-ahead Diwali snack recipe. If it loses its crunch or smells stale, it's time to throw it out.
Yes, you can make baked sev. Press thin strands of the dough onto a greased, parchment-lined baking tray and let them air-dry for 6-7 minutes. Then bake in a preheated oven at 400°F for 10-12 minutes, until crisp. Baked sev is lighter but not quite as crunchy as fried.
I haven't tested air fryer sev yet, but it should be similar to how I air-fry the noodles for my Chinese Bhel.
This sev recipe is easy to customize. Just add flavors to the besan sev dough:
Palak sev: add blanched spinach purée for a vibrant green color.
Aloo bhujia: mix in mashed potato for a softer, heartier version.
Garlic sev: knead in garlic paste or garlic powder for a bold, savory flavor.
Spicy masala sev: add extra red chili powder, or use Kashmiri chili for color without extra heat.
Other flours: try ragi, whole wheat, jowar or other millet flours for a different twist on classic omapodi.

More Diwali Faral Recipes
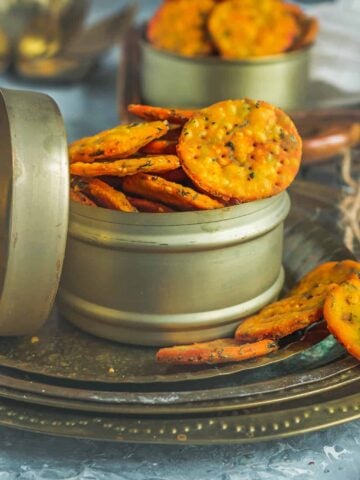
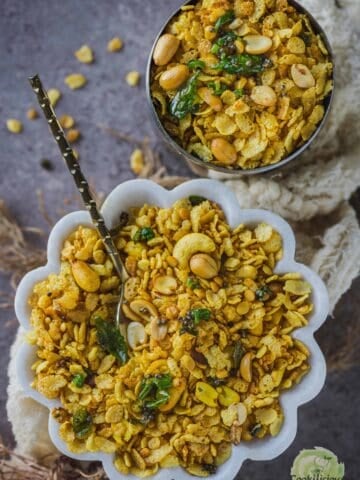
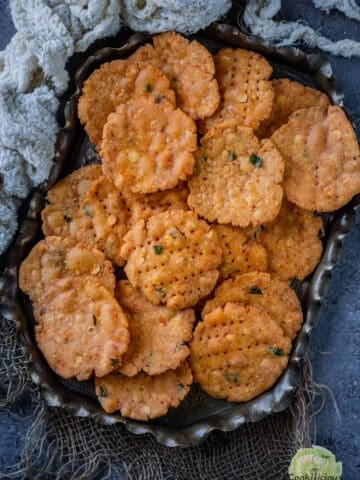

Recipe 📖

Sev Recipe (Omapodi) - Crispy Homemade Besan Sev
Equipment
Ingredients
To Make Omam Water
- 1 tablespoon ajwain
- 1 cup warm water
- 1.5 teaspoon salt
To Prepare The Sev
- 2 cups besan
- 1 cup rice flour
- 2 teaspoon red chilly powder
- ½ teaspoon GF asafoetida
- 1 tablespoon vegan ghee, warm or vegetable oil/ghee
- oil for frying
Instructions
To Make Omam Water
- Soak the ajwain. In a small bowl, soak the ajwain (omam, or carom seeds) in warm water for 10 minutes to release its aroma.
- Strain the water into a bowl and set it aside. This ajwain-infused water gives omapodi its signature flavor. Stir the salt into the strained water. My mother-in-law's tip: dissolving the salt in the water spreads it evenly through the dough. Don't throw away the soaked seeds! Add them to dals and curries for a mild, aromatic touch.
To Make The Sev
- Mix the flours. In a large mixing bowl, combine the sieved chickpea flour (besan) and rice flour. Priya's tip: Sieving removes lumps, so the dough passes smoothly through the sev maker.
- Add the red chili powder, asafoetida and warm vegan ghee, and rub them into the flour with your fingertips. My mother-in-law's tip: the warm ghee keeps the homemade sev light and crispy.
- Gradually pour in the salted omam water, kneading as you go, until you have a smooth, soft, non-sticky dough. If it feels sticky, add a spoonful of besan. If it's dry or cracking, sprinkle in a little water.
- Fit your sev maker (idiyappam or murukku press) with the small, fine-hole plate, and grease the inside with oil. Shape a portion of the dough into a cylinder and place it in the press. My mother-in-law's tip: cover the rest of the dough with a damp cloth so it doesn't dry out.
- Heat oil in a deep kadai or frying pan over medium-high heat, then lower it to medium. To test, drop in a small piece of dough. If it rises steadily to the top, the oil is ready. Hold the sev maker just above the oil and press the dough out in a circular motion to form a large round of omapodi.
- Fry one round at a time, and don't overcrowd the pan, so the oil stays hot and the sev cooks evenly.
- Fry the sev until the sizzling and bubbles slow down, then gently flip it to fry the other side. Take it out while it's still light golden, since overcooked sev turns dark and bitter. Lift it out with a slotted spoon and drain it on paper towels. Repeat with the rest of the dough. Priya's tip: handle the sev gently so the strands don't break. It will feel slightly soft at first but turns crispier as it cools.
- Let the sev cool completely, then break it into pieces or leave it in rounds. Store your crispy sev in an airtight container. Priya's tip: don't break the sev into very small pieces. Larger pieces stay crunchy longer and look better on a snack platter.
Notes
- Pick your thickness: use the small fine-hole plate for thin sev, or a larger plate for thicker mota sev.
- Make the dough fresh: knead it just before frying. Leftover sev dough doesn't refrigerate well, so fry it all in one go.
- Press a single, even layer: don't pile the dough in one spot while pressing. A thin, even round fries quickly and evenly, all the way through.
- Clean the sev maker right away: soak the press and plate in warm water as soon as you're done. Dried besan dough is much harder to scrub out of the tiny holes.

Marilyn C Sequeira says
Hi, can I use this sev to make laddu?
Priya says
Hi, Sev is savory and laddu is sweet. Sorry, I didn't get your question.
Alisha Rodrigues says
Gonna try this one this Diwali ... I remember friends and family doing it every Diwali at their place but never attempted doing it myself.. You just make it look so easy
Priya says
Yes, it's super easy to make. Thank you.
Dannii says
I haven't heard of this before, but I am always looking for more snack ideas.
Priya says
Yes, do try it. Thank you
Angela says
What a great recipe! So flavorful, the perfect Indian dish. YUM!
Priya says
Glad you liked it. Thank you
Beth says
This looks so delicious and tasty! Can't wait to make this! My family is going to love this!
Priya says
Thank you 🙂
jack says
I love these, they are so crunchy and delicious!
Priya says
Thank you so much
Colleen says
This looks amazing and I love that it's gluten-free too! Thanks for sharing.
Priya says
Glad you liked it. Thank you
Mirlene says
Love seeing these new recipes when i come to your site. This dish looks absolutely amazing. i cannot wait to try it.
Priya says
Thank you so much Mirlene. 🙂
Whitney says
I love making Indian food and this looks simple to make! Thanks for sharing!
Priya says
yes, do give it a try..thank you
Denay DeGuzman says
I loved learning about your family's cultural traditions! I'm so excited to make this delicious recipe. I know my own family will really enjoy it. Yum. Yum!
Priya says
Glad you enjoyed reading about them. Thank you 🙂
Julia says
This is a fantastic snack, thank you for sharing!
Priya says
Glad you like it. Thank you